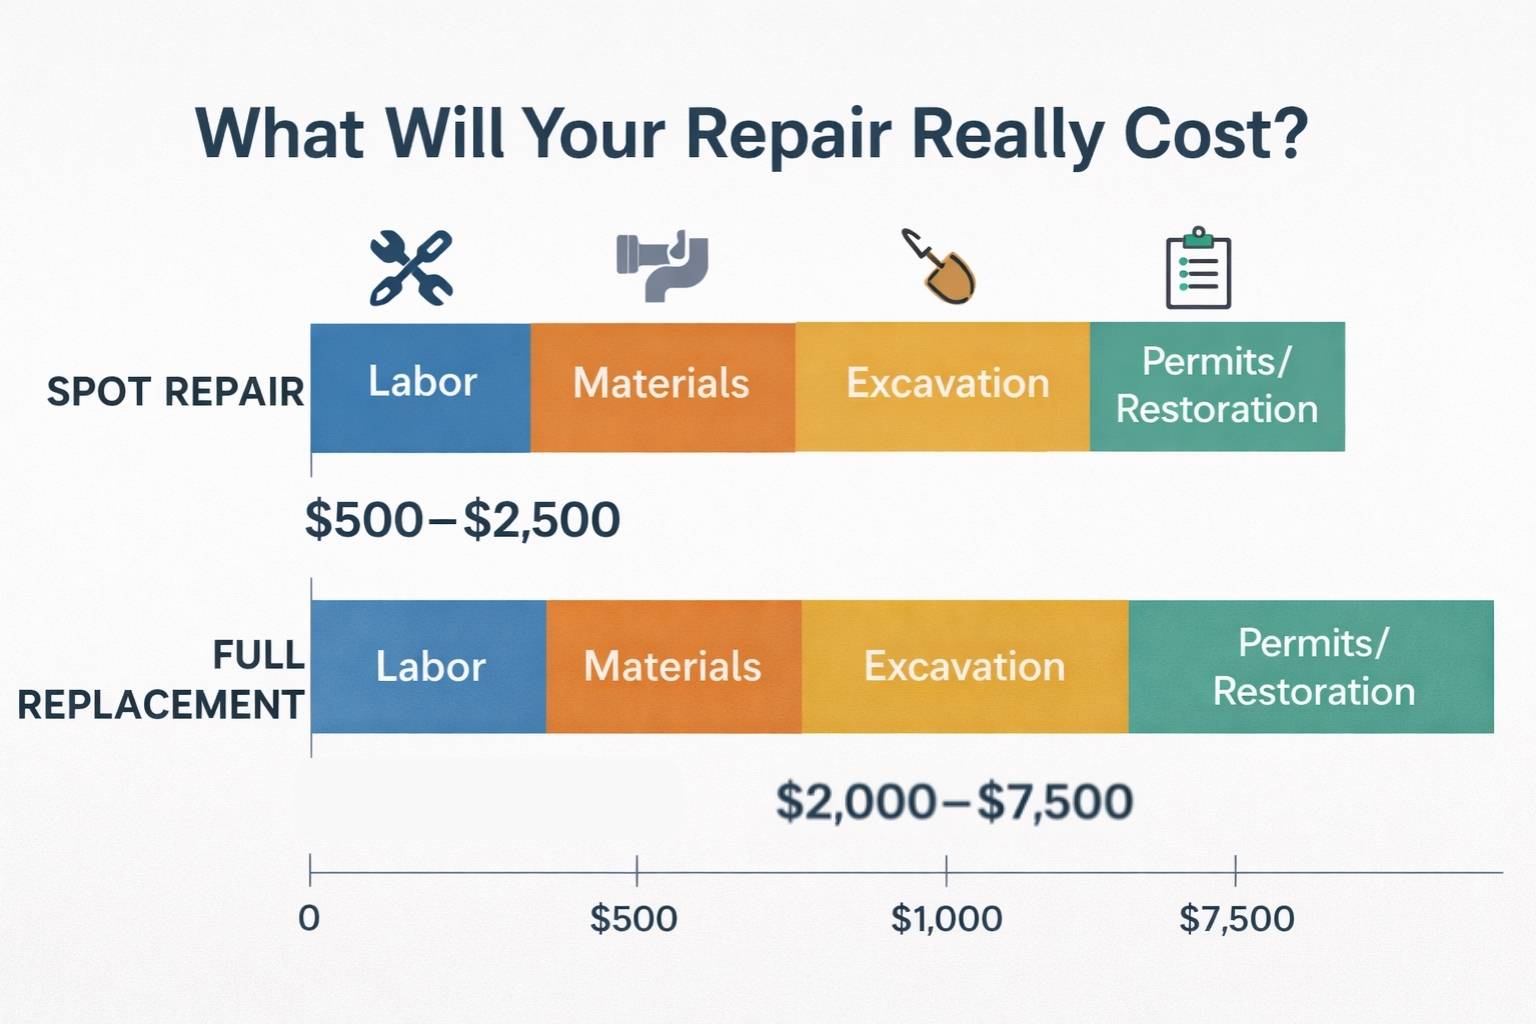
Spot repairs in San Antonio typically cost $500 to $2500 depending on leak location, excavation depth, and accessibility. Full water line replacement usually ranges from $2000 to $7500, with longer lines and deeper pipe runs falling at the higher end. Lines under slab sections cost more than runs from the street to the home because slab removal increases labor hours.
Clay soil in San Antonio expands during wet seasons and contracts during dry seasons. This movement increases stress around buried pipes and raises the cost of excavation. Copper and PEX respond differently to soil pressure, which also affects final pricing. Homes with high water pressure or older pipe materials often require more extensive work, increasing total repair or replacement cost.
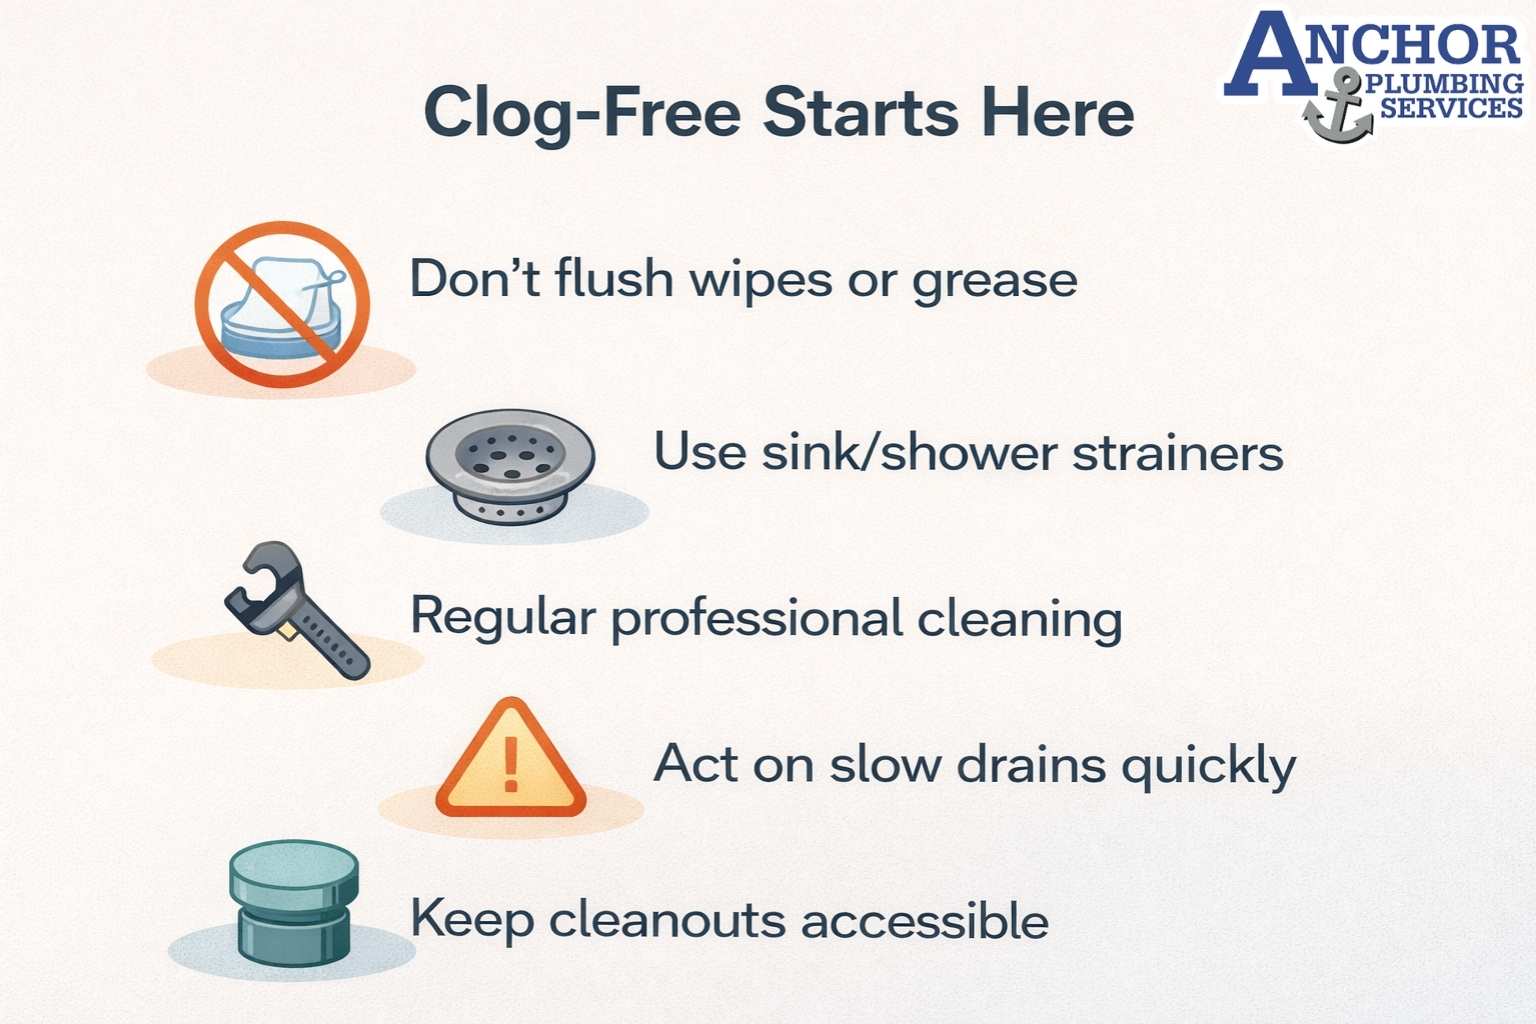
What Factors Influence Water Line Repair Costs?
Water line repair cost in San Antonio changes based on measurable attributes that affect excavation, material, and labor. Grouping these variables improves clarity for homeowners and helps them understand why prices shift between spot repair and full replacement.
- Damage location: Water line leaks in open yard areas cost less because access is direct. Leaks under a foundation, inside a wall, or beneath concrete walkways increase labor due to demolition and restoration.
- Pipe depth and soil conditions: San Antonio clay expands when wet and contracts when dry. This soil movement increases stress on buried lines and forces deeper excavation. Rocky terrain and compacted soil add more labor hours.
- Pipe material: Copper, PEX, and PVC each influence cost differently. Copper requires more labor for cutting and soldering. PEX is flexible and installs faster. PVC is common in older homes but may crack under soil movement.
- Access difficulty: Slab foundations, large trees, irrigation lines, and hardscape structures increase complexity. Cutting concrete or tunneling raises total cost due to extra time and equipment.
- Repair method: Spot repair, rerouting, trenching, and trenchless methods all carry different price levels. Rerouting around a slab avoids excavation but adds new pipe runs. Trenchless options reduce digging but require suitable pipe conditions.
- Diagnostic steps: Camera inspection, pressure testing, and leak location equipment add cost but reduce guesswork. Diagnostics prevent unnecessary excavation and ensure the correct repair method.
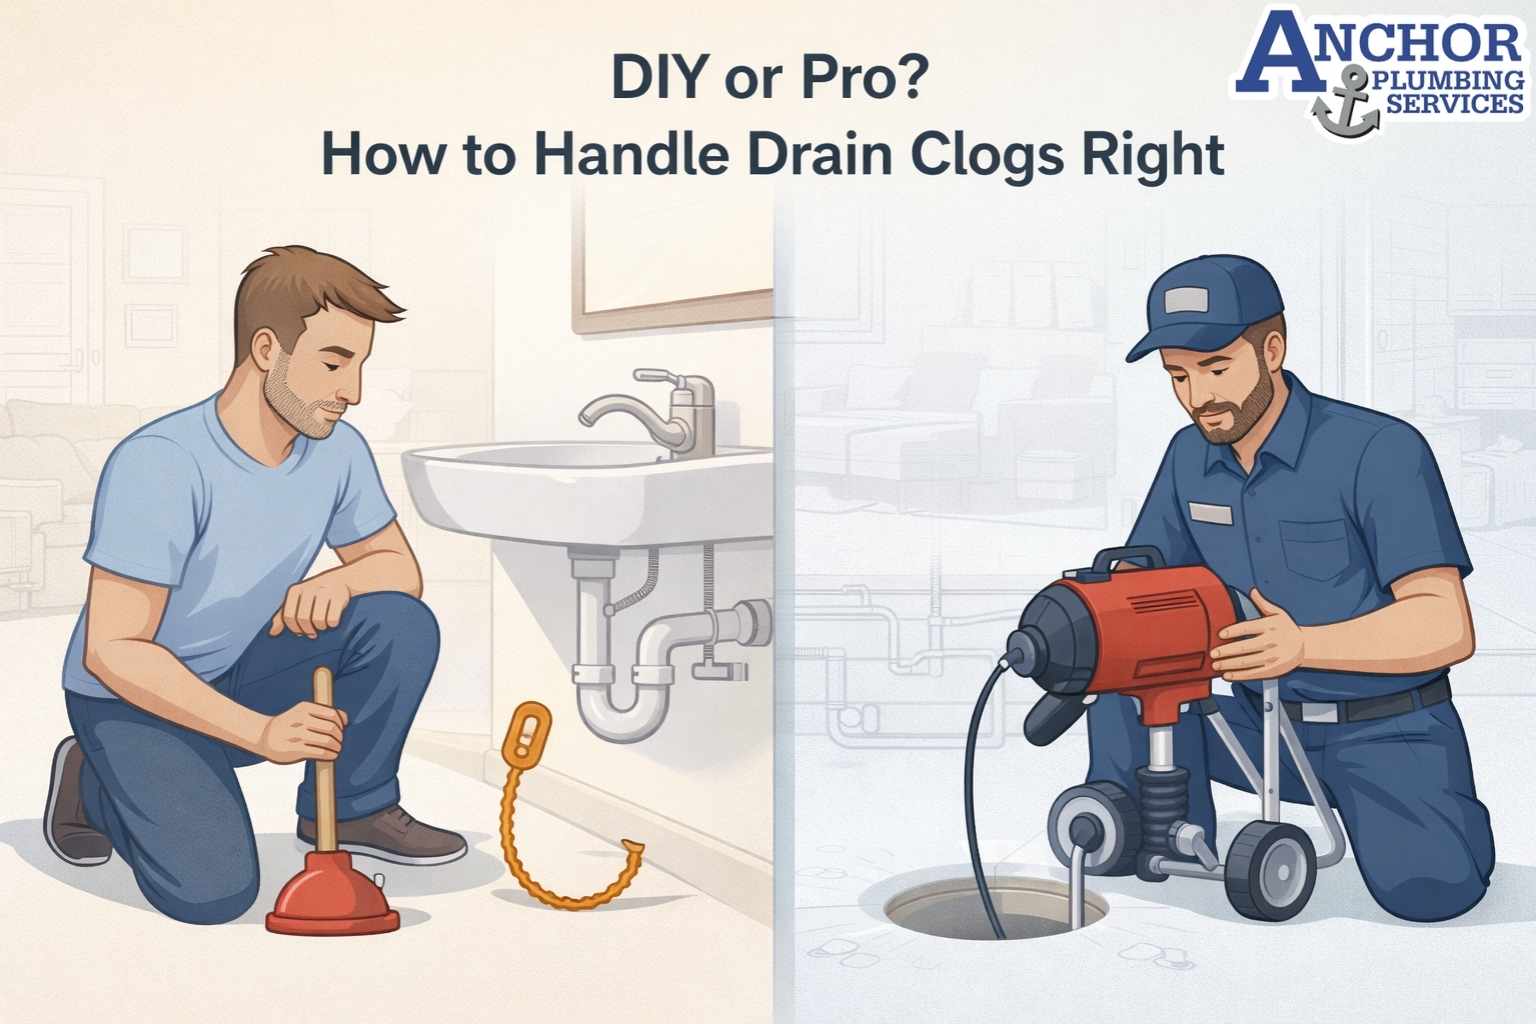
Spot Repair vs Full Water Line Replacement: What Is the Difference
Spot repair fixes a small section of pipe where a leak is isolated and the rest of the line is stable. It targets a single failure point without replacing the entire service line.
Full water line replacement removes or bypasses the entire water service line when pipes are severely corroded, collapsed, or failing across multiple sections. It provides a long term solution for homes with aging systems.
Water line Spot repair is recommended when the leak is recent, localized, and easy to access. Full replacement is recommended when corrosion is visible along the line, leaks recur in different areas, or pressure problems indicate systemic deterioration.
Repeated spot repairs increase long term cost because new leaks form as older pipes continue to deteriorate. Full replacement provides predictable lifespan and stability.
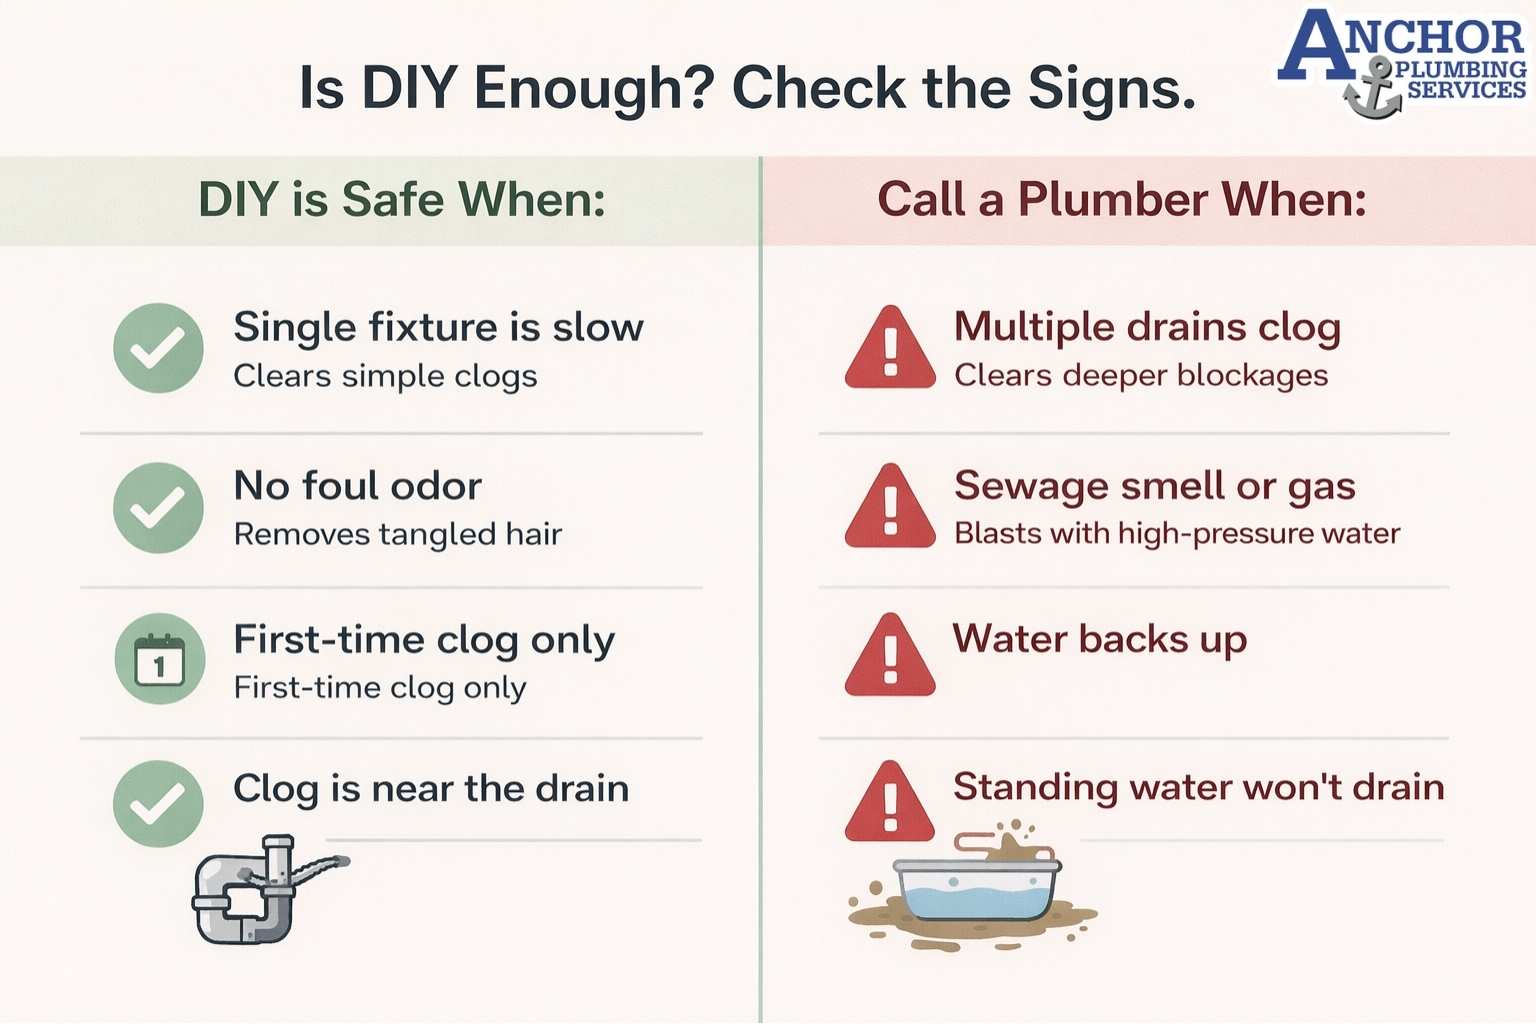
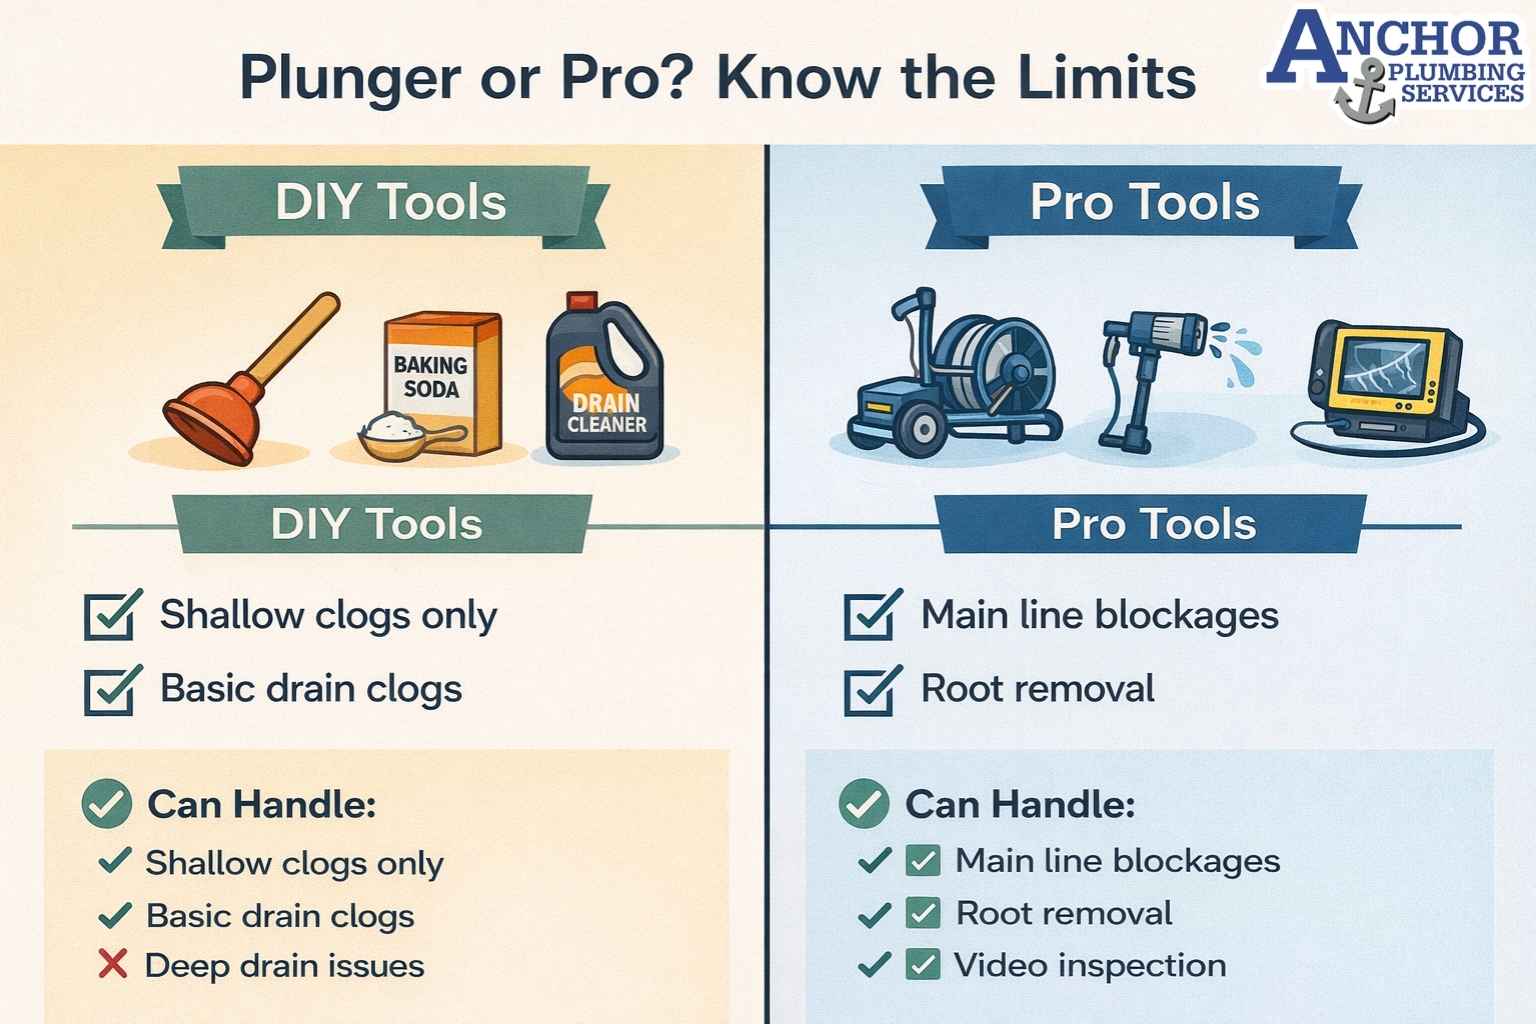
When Is a Spot Repair the Right Choice?
Spot repair is a practical option when the leak affects only one small section of pipe and the rest of the water line remains in good condition.
Spot repair works well when:
- The leak is located near a joint, fitting, or shallow point in the yard
- Corrosion appears minimal and limited to a small area
- Access is straightforward without slab or foundation removal
- A homeowner needs a short term budget friendly solution
Spot repair is cost effective because labor hours stay low and excavation is limited. However, it carries risk in homes with older copper or PVC lines. Localized corrosion often signals more failures ahead. If pressure readings show an unstable PSI drop or if pinhole leaks appear in multiple places, full replacement becomes more efficient financially.
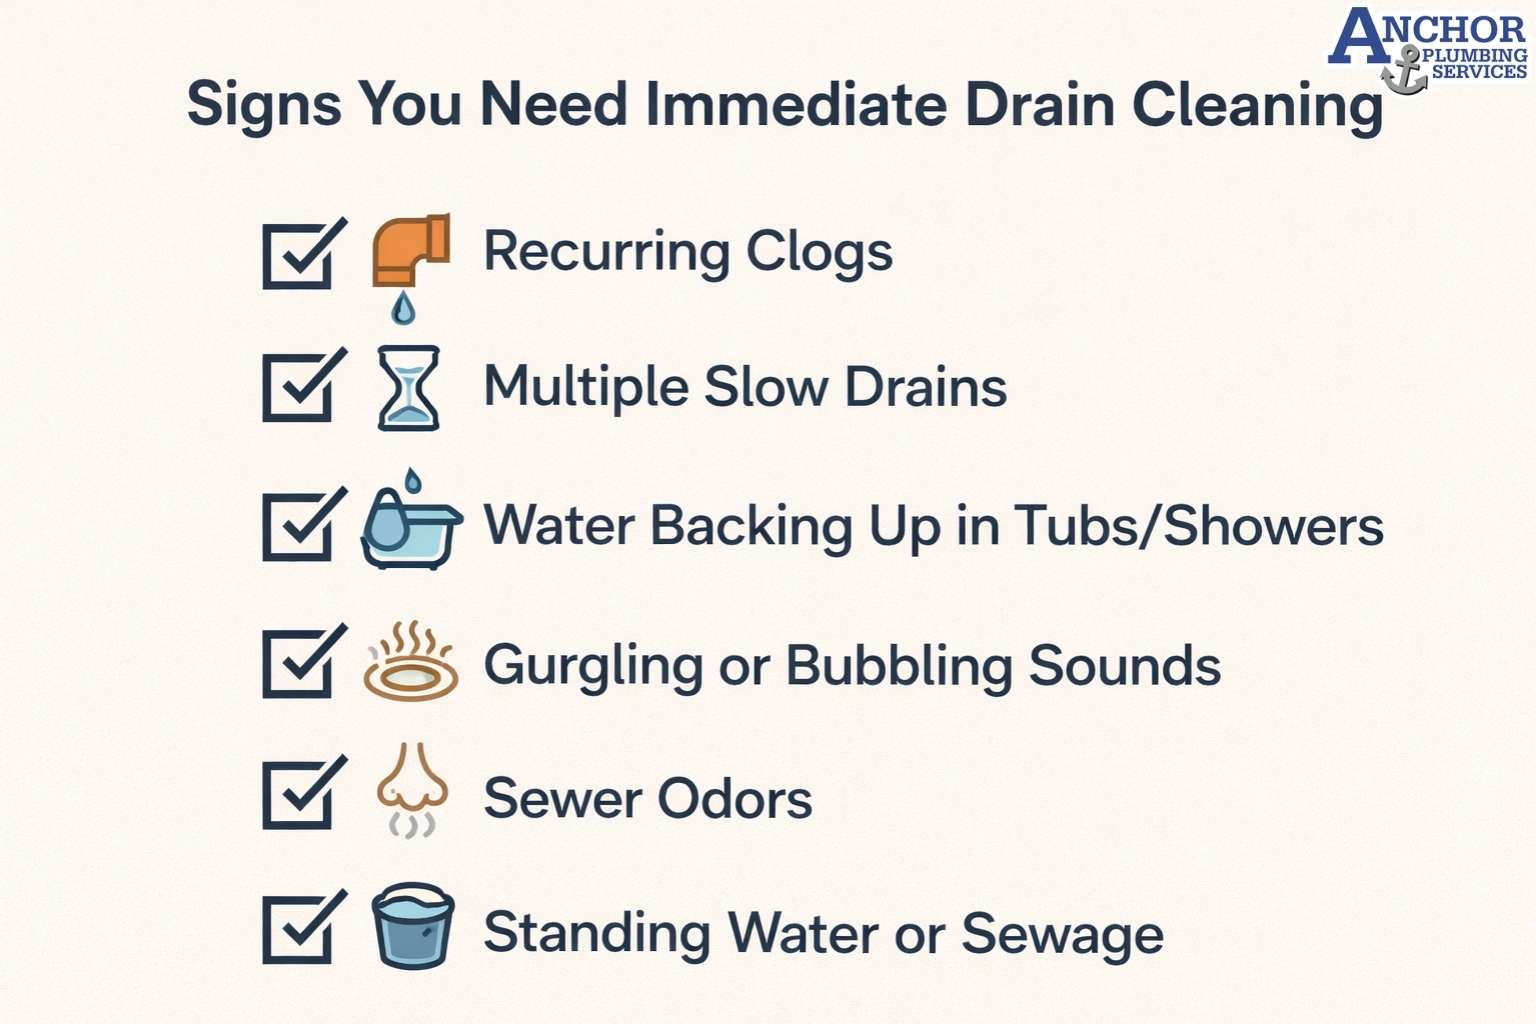
When Does a Home Need a Full Water Line Replacement
Full water line replacement becomes necessary when the entire system shows signs of long term deterioration. Multiple leaks forming across different areas indicate that the line has reached the end of its lifespan and that localized repairs will not hold. Homes with galvanized steel or aging copper experience oxidation that restricts flow rate and increases internal pressure stress.
Consistent low water pressure throughout the home signals widespread pipe narrowing. Tree root intrusion, soil movement, and shifting foundations also damage entire sections of the service line. Repairs become temporary in these conditions because soil expansion creates new stress points.
Full replacement provides long term stability. It eliminates recurring excavation, restores predictable water pressure, and prevents emergency failures. The return on investment comes from reduced repair frequency, improved flow rate, and extended material lifespan.
Cost Breakdown: Labor, Materials, Excavation and Permits
Water line repair and replacement costs come from four primary components: labor, materials, excavation, and regulatory fees. These variables determine the final estimate.
- Labor hours: Licensed plumbers bill based on complexity. Deep lines, slab access, or reroutes require more time. Labor often accounts for half of the total cost.
- Excavation or trenching: Digging through clay soil, walkways, or driveways increases cost. Deeper lines require more machinery and additional safety steps.
- Landscape and surface restoration: Grass, concrete, irrigation lines, and hardscape elements require repair after the trench is closed. Restoration adds measurable cost.
- Replacement fittings and pipe material: PEX lowers material cost and installation time. Copper increases both due to material grade and soldering. Fittings, valves, and connectors add to total cost.
- City permits and compliance: The San Antonio Water System requires permits for water service line work. Permit fees and post installation inspections influence the final estimate.
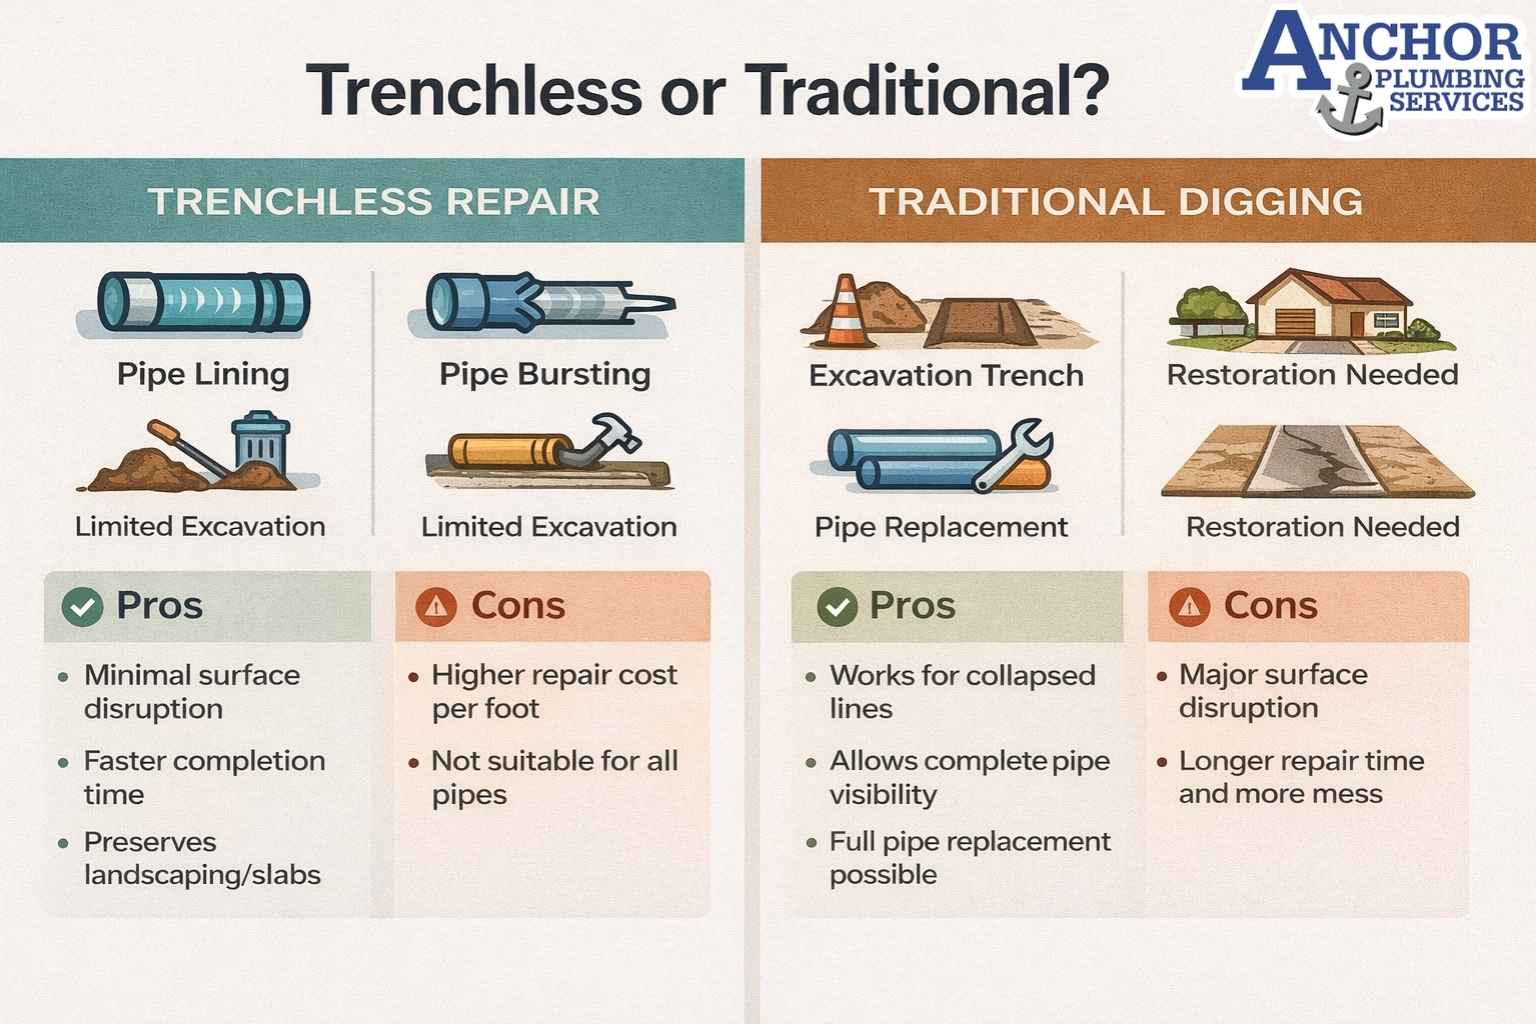
Trenchless vs Traditional Water Line Repair Costs?
Trenchless water line repair replaces damaged sections with minimal surface disruption. It relies on small access points for inserting new piping. Trenchless methods such as pipe bursting or directional boring cost more per linear foot due to specialized equipment but reduce restoration costs because soil and landscaping remain intact.
Traditional trenching requires opening the ground along the entire pipe path. Material cost is lower, but labor and restoration increase due to digging and surface repair. This method is used when old lines are collapsed, severely corroded, or structurally unstable.
Trenchless repair is possible only when the existing pipe path allows a clear route for bursting or lining. Bent, crushed, or heavily intruded lines may require traditional excavation.
How Soil and Climate in San Antonio Impact Water Line Costs?
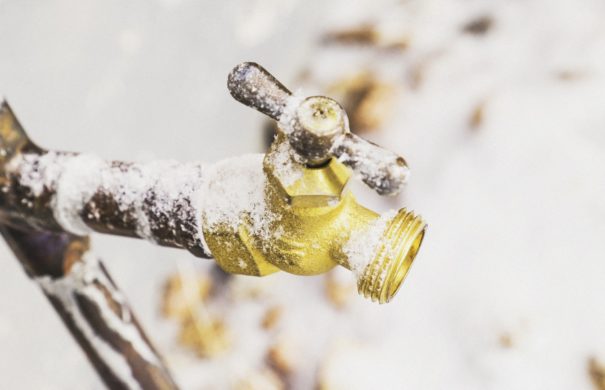
San Antonio soil and weather conditions directly influence repair cost and long term water line performance. High clay content expands during rainfall and contracts during dry periods. This movement strains buried pipes and increases leak formation, especially at joints and older metal connections.
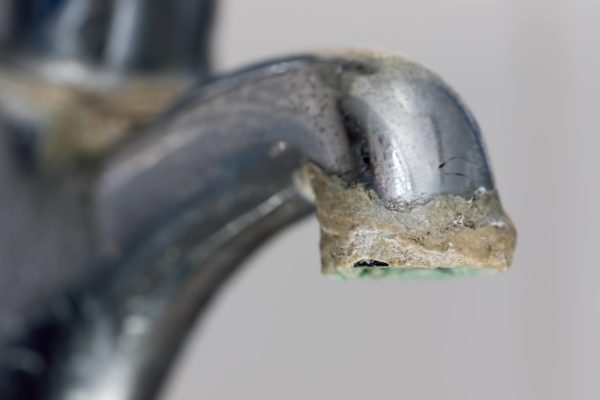
Temperature swings and weather cycles accelerate pipe stress. Hard water minerals in the region create scale inside older copper or galvanized lines, reducing internal diameter and weakening pipe walls. Large shade trees common in San Antonio neighborhoods send roots toward moisture sources, creating intrusion points around pipe cracks.
These environmental factors make excavation deeper, increase diagnostic steps, and raise labor hours. They also influence material selection because flexible PEX absorbs soil movement better than rigid metals.
How to Get an Accurate Water Line Repair Quote?
Accurate pricing requires diagnostic steps that identify the leak source, pipe condition, soil conditions, and repair method. A licensed plumber begins with a camera inspection to locate the leak point and assess pipe integrity. Pressure testing confirms whether the issue is isolated or part of a wider failure across the line.
Technicians measure pipe depth to understand excavation requirements and determine whether spot repair or full replacement is the better long term option. Material recommendations follow based on soil movement, water pressure, and pipe lifespan. San Antonio homes with clay soil often benefit from flexible PEX lines with copper transitions near the meter.
When comparing quotes, homeowners should request a written itemized estimate that includes labor hours, excavation details, pipe material costs, and restoration charges. Inspection fees, permit requirements, and warranty terms should also be clearly outlined to ensure transparency and prevent unexpected add ons.
Frequently Asked Questions
Is a water line leak covered by insurance?
Most policies cover sudden and accidental water damage but do not cover the repair of the pipe itself. Coverage depends on the insurer and the cause of the leak.
How long does a spot repair last?
Spot repairs typically last several years if the surrounding pipe remains in good condition. Aging copper or galvanized lines may require more frequent repairs.
How long does a full water line replacement take?
Most full replacements take one to two days depending on pipe length, soil depth, and access requirements.
What pipe material is best for San Antonio?
Flexible PEX with copper transitions performs well in areas with clay soil movement and hard water. It offers long term durability and stable water pressure.
Conclusion
Water line repair costs in San Antonio depend on damage location, soil movement, pipe material, and access difficulty. Spot repairs are suitable for isolated leaks while full replacements provide long term value when pipes show widespread corrosion or repeated failures. Acting quickly prevents soil saturation, slab damage, and home wide pressure loss.
A professional inspection helps determine whether a localized fix or complete replacement is the most reliable solution for your home. Homeowners gain clarity through a detailed estimate, proper diagnostics, and material recommendations tailored to San Antonio conditions.
For trusted repairs and full water line replacement, Anchor Plumbing Services provides licensed service across San Antonio, Helotes, New Braunfels, Stone Oak, and the West and Northwest areas. Schedule your inspection or request an estimate to restore stable water flow and protect your home.