Tank and tankless water heaters differ in upfront cost, energy use, lifespan, and how they handle hard water; the right choice depends on home, budget, and maintenance rather than one type always being better.
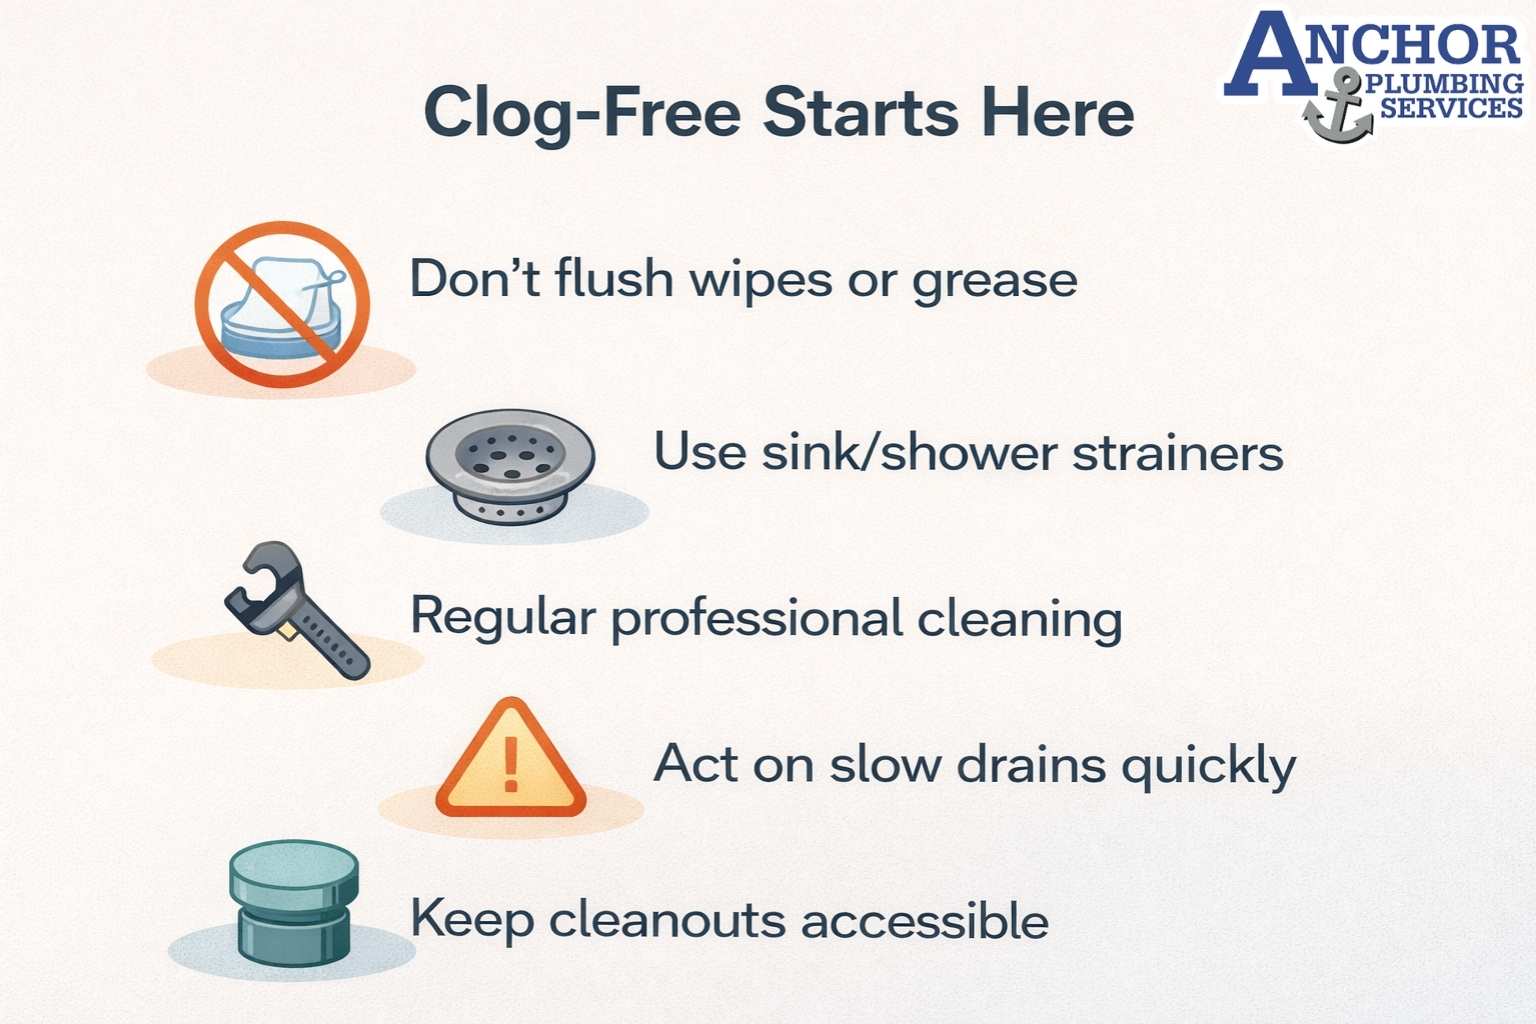
Many homeowners compare tank and tankless heaters when an older unit starts leaking or during a remodel. The decision usually centers on how much the new system costs today, how long it lasts, and how expensive it is to run every month. If the existing heater is still working, many families also compare water heater repair vs replacement costs over the long term before they choose a new tank or tankless system.
In hard water areas such as San Antonio, New Braunfels, Midland, Odessa, minerals in the water form scale inside water heaters. This scale builds faster on some components than others. It changes how efficiently each type heats water and how long critical parts keep working.
This guide explains the main differences between tank and tankless systems for a residential home. It compares upfront purchase and installation cost, long term energy bills, expected lifespan, maintenance needs, and performance in hard water. It also explains how a water softener changes that picture.
What is the difference between a tank and a tankless water heater?
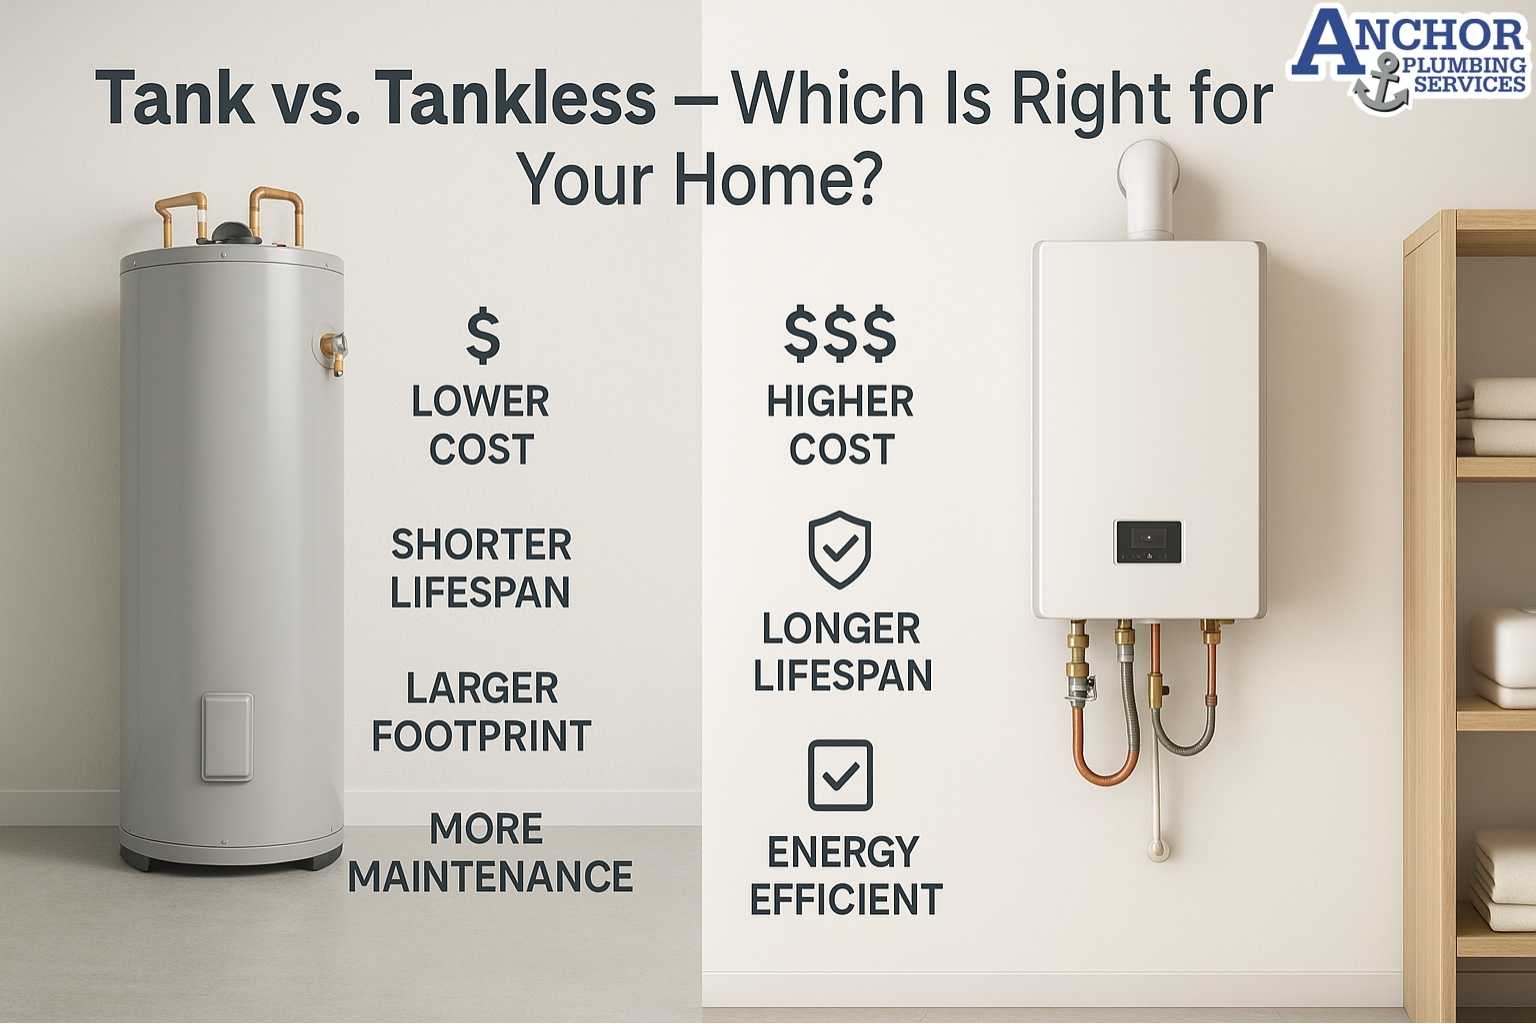
A tank water heater stores and reheats a set volume of hot water, while a tankless water heater heats water as it flows through the unit.
A tank or storage water heater keeps dozens of gallons of water in an insulated cylinder. A gas burner or electric element cycles on and off under the control of a thermostat. The system reheats water repeatedly so that hot water is ready in the tank for the next shower or load of laundry.
A tankless or on-demand heater does not store a large volume of hot water. Cold water moves through a compact heat exchanger whenever a tap opens. Gas burners or electric elements fire only while water flows, so the heater focuses on meeting a target flow rate rather than maintaining a full tank.
Tank heaters usually need more installation space and create standby heat loss because stored water cools between uses. They often suit simple replacements in small condos or large family homes where the existing gas or electric setup already matches the tank capacity. Tankless heaters mount on a wall, conserve space, and avoid standby loss, yet they must be sized carefully so that flow matches the needs of a one bath or two bath home.
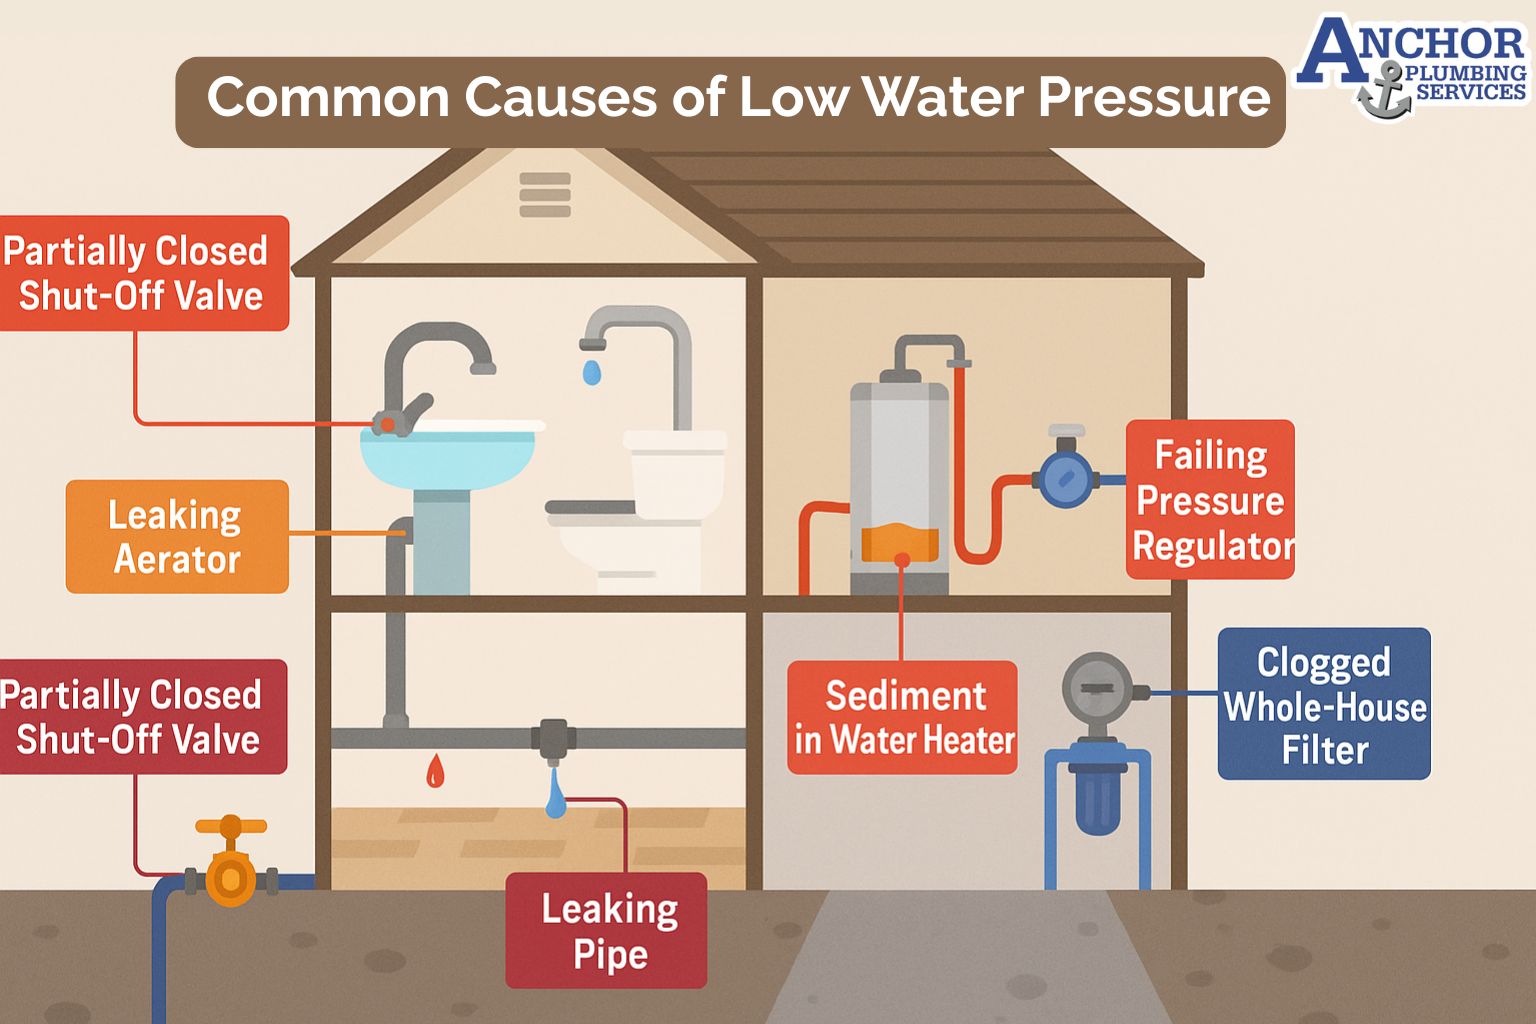
Both designs are exposed to hard water. Tank heaters tend to accumulate sediment at the bottom of the cylinder. Tankless heaters see scale build up inside the narrow passages of the heat exchanger. In both cases, mineral deposits change efficiency and energy use over time, which connects the water heater decision to water quality and maintenance.
How does a tank water heater behave in a hard water home?
In a hard water home, a tank water heater gradually fills with mineral sediment on the bottom of the tank, which reduces heating efficiency, increases noise, and makes hot water run out faster over time.
Hard water carries dissolved calcium and magnesium into the storage tank. When the burner or electric element heats the water, minerals fall out of solution and settle at the bottom. This sediment layer grows over the years and covers the base of the tank in older units.
As sediment accumulates, the burner must heat through a layer of mineral deposits before warming the water above. This layer acts like insulation. The heater runs longer, wastes more fuel, and cycles more to keep the thermostat setting. Many homeowners start to hear rumbling or popping sounds as trapped bubbles push through the sediment.
The effective hot water capacity also drops. Sediment takes up space inside the tank, so less usable hot water remains above the mineral layer. Showers become shorter, and hot water can run out more quickly during back to back use, even when the thermostat setting stays the same.
How does a tankless water heater behave in a hard water home?
In a hard water home, a tankless water heater sees mineral scale coat the heat exchanger, which restricts flow, triggers error codes, produces lukewarm water at taps, and can cause early exchanger failure if maintenance is ignored.
Hard water carries dissolved calcium and magnesium into the tankless heat exchanger. When burners or electric elements heat the water, minerals fall out of solution. They form a hard scale that coats the narrow passages inside the exchanger and nearby components.
As scale coats these passages, water flow drops. Sensors detect reduced flow and temperature changes. The unit can start to cycle more often, struggle to reach set temperature, or shut down with error codes. Homeowners notice lukewarm water instead of steady hot water, especially during higher demand.
Heavy scale also creates hot spots on metal surfaces. These hot spots stress the exchanger and seals. Over time, this stress can cause leaks or cracks that force early replacement of the exchanger or the entire heater.
Regular descaling reduces this risk. A plumber connects hoses, circulates a descaling solution through the tankless heater, and rinses the system until water runs clear. A unit that is descaled every year in hard water behaves very differently from one that is never treated. A water softener helps further by reducing mineral content before water reaches the heater, which lowers the rate at which scale forms and extends stable flow and temperature performance.
Which is better, a tank or tankless water heater?
Neither tank nor tankless water heaters are always better; the better fit for a home depends on family size, hot water usage pattern, available gas or electric capacity, hard water conditions, upfront budget, and willingness to maintain the system.
A tank water heater suits homeowners who want a lower upfront cost and a simpler installation. Tanks replace older units with fewer changes to gas lines or electrical panels. They handle moderate hot water needs well when the capacity matches the number of people and bathrooms in the home.
A tankless water heater suits homes that use a lot of hot water over the course of the day. It favors families that want higher efficiency, steady hot water for many years, and more floor space in mechanical rooms. It can also benefit smaller homes that have high peak usage at certain times.
To make the comparison easier, think about common situations:
- A standard tank heater suits smaller or medium homes, tight budgets, basic gas lines, and owners who do not plan to add a water softener or follow strict maintenance.
- A tankless heater suits larger families, higher daily usage, limited space, homes with strong gas or electric capacity, and owners with a water softener and a plan for regular maintenance.

Why do plumbers not recommend tankless water heaters in some homes?
Plumbers usually avoid recommending tankless water heaters when the gas line or electrical panel cannot support the equipment, the water is very hard with no softener, or the budget cannot cover necessary upgrades and maintenance.
Licensed plumbers install both tank and tankless systems every year. They evaluate the home before giving a recommendation. When they decide against tankless, the reason usually sits in the infrastructure or the way the household uses hot water, not in a belief that the technology is always unreliable.
One common barrier is gas line size. Many existing homes have gas lines sized for a standard tank burner. A tankless unit often needs a higher input rate. If the gas meter or line cannot safely supply that rate, the plumber must quote upgrades. When the homeowner budget cannot support those upgrades, the plumber avoids the tankless option.
Another barrier is electrical capacity for electric tankless units. These heaters can draw large amounts of current when they run. If the breaker panel is already near its limit, an upgrade may be necessary. Again, if the budget cannot handle that work, a standard tank system becomes the practical choice.
Water quality also shapes recommendations. In very hard water homes without a softener or maintenance plan, a tankless heater faces a high scale risk. If the homeowner is unlikely to schedule regular descaling or invest in water quality improvements, some plumbers prefer a tank that tolerates more sediment before failure.
In each case, the plumber evaluates infrastructure readiness, hardness risk, budget, and maintenance commitment. They recommend or avoid tankless systems based on how well the home supports them, rather than viewing tankless water heaters as a bad technology in every situation.
What are the advantages of a tank water heater?
A tank water heater offers a simple and familiar design with lower upfront cost than most tankless systems. It often suits homes with limited budgets or older gas and electric infrastructure that are not ready for major upgrades.
A tank heater relies on a storage cylinder and a basic thermostat. Installers can often reuse the existing gas line, vent, or electric circuit. This lowers material cost and reduces labor time compared with many tankless conversions.
Tank models use standard parts. Many plumbers keep common thermostats, valves, and heating elements on their trucks. Routine maintenance such as flushing the tank is straightforward and does not require special tools beyond hoses and basic valves.
Tank heaters also handle short demand spikes well. When the tank is full and heated, several fixtures can draw hot water at once until the stored volume is used. The system is less sensitive to very brief peaks in flow compared with some on demand units.
In hard water homes, tanks still face sediment buildup, yet they tend to be less finicky than tankless heaters about small changes in flow or scale. The system can often keep working with some sediment in the bottom, especially when flushed on a regular schedule.
Common advantages include the following points:
- Lower upfront purchase price for many standard sizes such as 40 to 50 gallon models
- Lower installation cost in most existing homes with standard venting and gas or electric service
- Simpler installation with fewer gas line or electrical panel changes
- Straightforward maintenance, with flushing and part replacement that many plumbers perform quickly
- Reliable performance with less sensitivity to momentary demand spikes
- Greater tolerance to hard water conditions when combined with periodic flushing
These traits mean that tank water heaters often suit residential homes with older infrastructure, homeowners who want minimal upfront investment, and households with predictable daily hot water usage rather than constant high demand.
What are the advantages of a tankless water heater?
A tankless water heater saves space and reduces standby energy loss compared with a standard tank. It can provide long term hot water more efficiently when it is sized correctly, maintained well, and protected from scale in hard water homes.
Tankless units heat water only when a tap opens. This removes the need to keep a large storage tank at temperature all day. The result is less wasted energy when the household uses hot water at scattered times.
The compact footprint is a clear benefit. A wall mounted tankless heater frees floor space in closets, garages, or utility rooms. In some climates, approved models can even mount on an exterior wall, which opens more layout options for the interior.
When sized for the expected flow, a tankless heater can supply continuous hot water within its design limits. The system does not run out of a fixed tank volume during back to back showers or long baths. Instead, it maintains output temperature as long as flow and fuel stay within the rated range.
Tankless systems also offer strong lifespan potential. The heat exchanger and controls can operate for many years when descaled regularly and shielded from heavy mineral deposits. Many units outlast standard tanks when a water softener and maintenance plan are in place.
Key advantages include the following points:
- Higher efficiency and lower standby losses than most conventional storage tanks
- Reduced footprint and more usable floor space in tight mechanical areas
- Continuous hot water within the rated flow for correctly sized systems
- Longer potential service life than a standard tank under proper maintenance
- Flexible placement options, including wall mounting and in some cases exterior installation
In hard water regions, these benefits are strongest when scale is controlled. Regular flushing and descaling keep passages clear inside the heat exchanger. A water softener or filtration system lowers mineral content before water reaches the tankless unit. When paired with suitable gas line or electrical panel capacity, a tankless heater can optimize energy use and space while supporting steady hot water for many years.
What are the disadvantages of a tank water heater?
A tank water heater loses energy through standby heating, occupies more floor space, has a shorter typical lifespan than many tankless models, can run out of hot water, and often fails by leaking when the tank corrodes.
A storage tank keeps dozens of gallons of water hot at all times. Even with insulation, the water slowly cools between uses. The burner or electric element cycles to replace that lost heat. This standby loss increases total energy use over the year.
The tank also needs floor space and clearance. In small utility rooms, closets, or garages, the footprint limits how the homeowner can use the area. Larger capacity tanks occupy even more room.
Every tank has a fixed volume. During heavy use, such as several showers and laundry in a short period, the stored hot water can run out. The heater then needs time to recover. Until that recovery is complete, taps may deliver lukewarm water.
In hard water homes, minerals settle at the bottom of the tank. Sediment buildup forces the heater to work harder, creates rumbling noises, and reduces usable capacity. If the tank is never flushed, sediment can speed corrosion at the base and shorten lifespan.
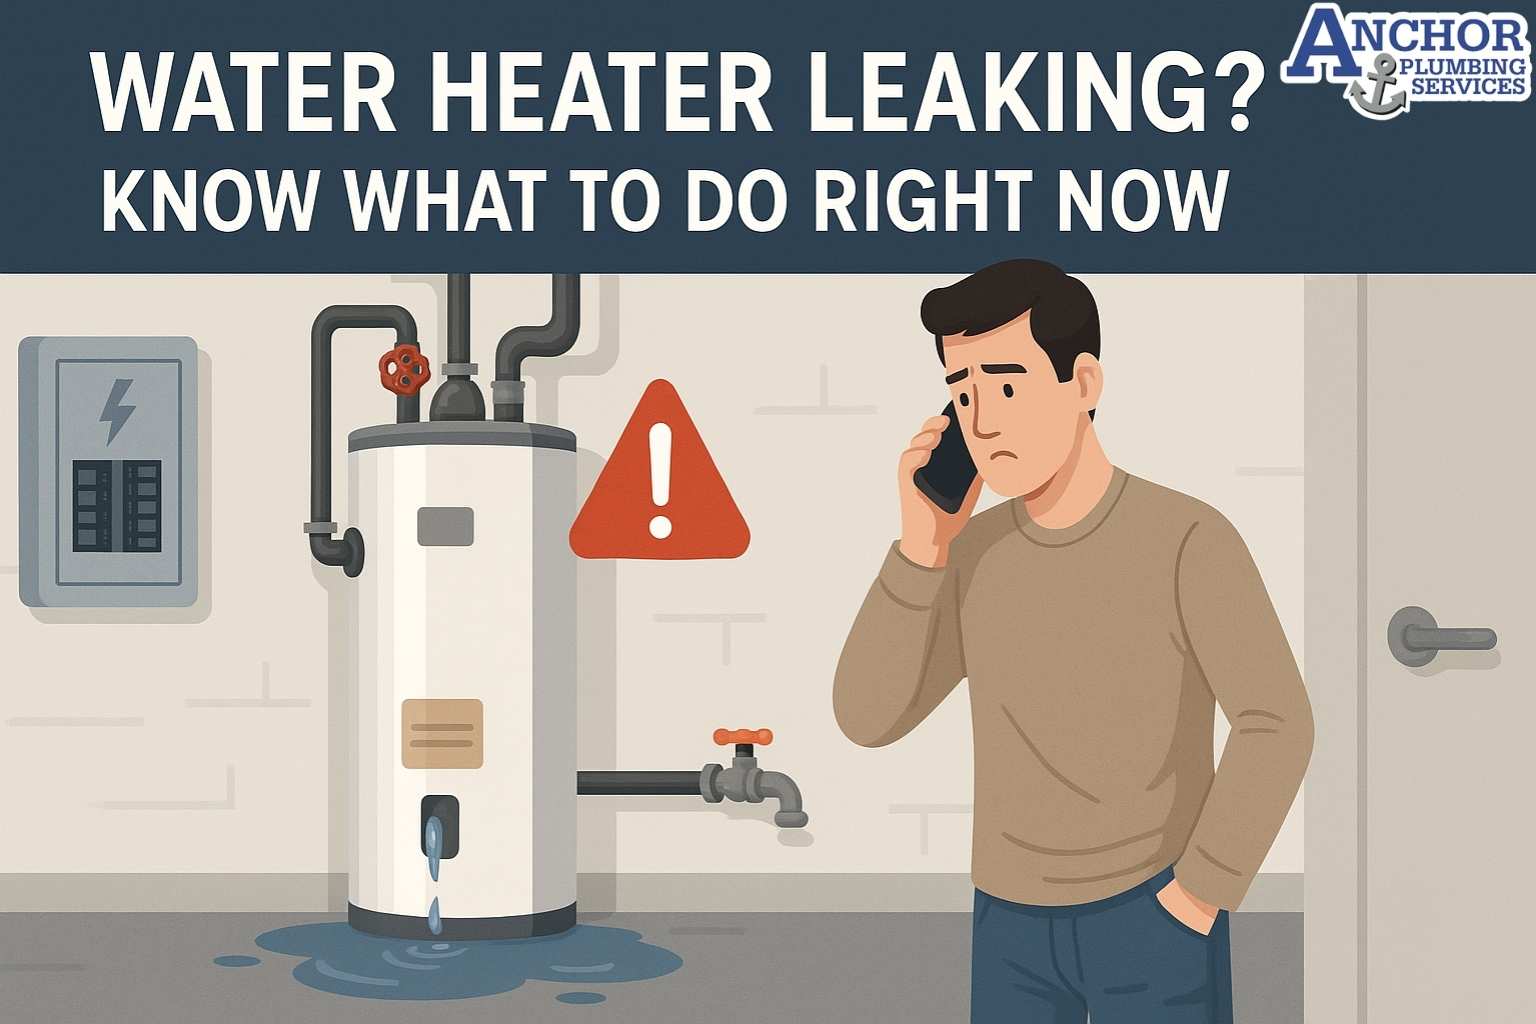
When a tank water heater reaches the end of its life, it often fails by leaking. A corroded shell or failed weld lets water escape around the base or relief valve area. This leak risk is part of the normal failure mode for many older tanks.
Common disadvantages include the following points.
- Standby energy loss as the tank reheats water that cools between uses
- Shorter typical lifespan than many tankless systems under similar conditions
- Larger footprint that occupies valuable floor space and needs clearance
- Limited stored volume that can run out during heavy or clustered hot water use
- Sediment accumulation in hard water that increases noise and reduces efficiency when flushing is neglected
- Higher likelihood of leaks at the end of life due to tank corrosion and failure of the shell
What are the disadvantages of a tankless water heater?
A tankless water heater usually has higher upfront cost, more complex installation, strict flow limits, and greater sensitivity to hard water scale that requires regular descaling and may degrade performance during heavy demand.
Tankless units often cost more to purchase than standard tanks. Many homes also need gas line upgrades, new venting, or additional electrical capacity. These changes increase materials and labor cost at installation.
The installation process itself is more complex. Installers must size the unit for expected flow, confirm gas or electric input, and route venting according to strict manufacturer rules. This added complexity can raise the total project cost compared with a like for like tank replacement.
Tankless heaters have clear flow limits. If several showers, faucets, and appliances run at once, the unit may reduce temperature or fail to keep up. This is a capacity limit rather than a defect. It becomes more visible in large households that use many fixtures at the same time.
Hard water creates another disadvantage. Scale coats the heat exchanger and narrow passages inside the tankless unit. This coating restricts flow, triggers error codes, and can cause temperature swings. Regular descaling is required to keep performance stable.
Some homes also see temperature variation when demand changes quickly. Short bursts of water at different fixtures can cause noticeable shifts at taps, especially if the system is not matched carefully to the plumbing layout. In some layouts, a separate recirculation system is needed to reduce wait times for hot water at distant fixtures.
Key disadvantages include the following points:
- Higher upfront equipment cost and possible expenses for gas line, venting, or electrical upgrades
- More complex installation that demands careful sizing and skilled labor
- Finite flow capacity that can limit use when many fixtures run at once
- Greater sensitivity to hard water scale, with a need for regular descaling to protect the heat exchanger
- Potential temperature fluctuations when demand spikes or fixtures open and close in rapid sequence
- Possible need for a recirculation system to address long wait times for hot water in some plumbing layouts
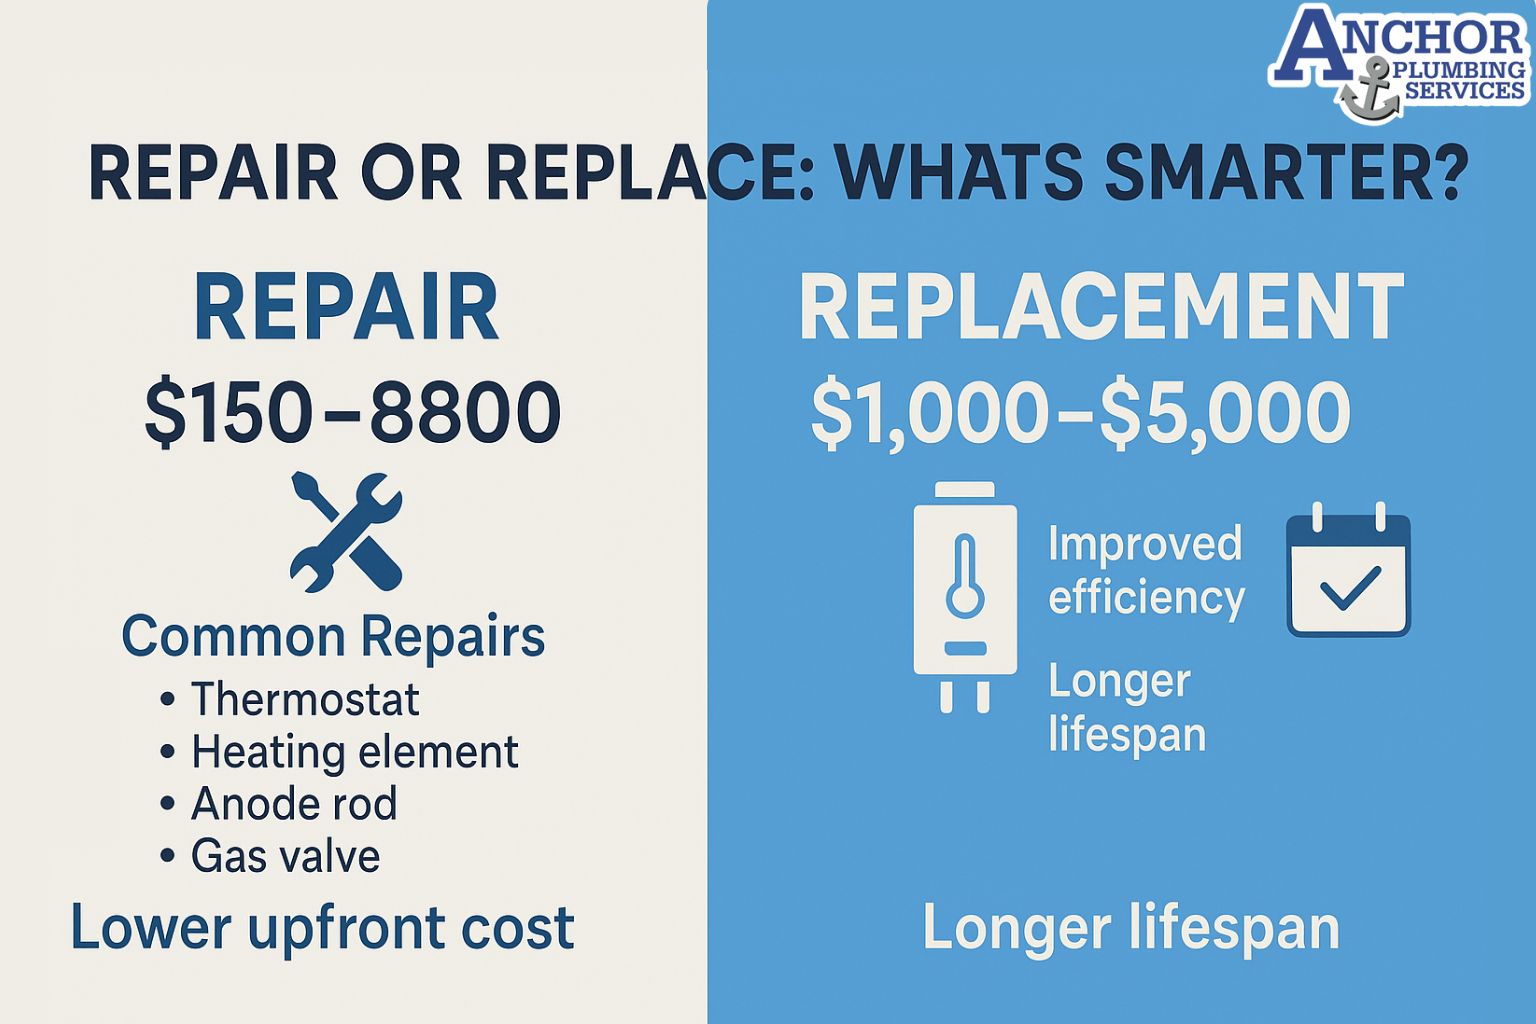
How do tank and tankless water heater costs compare from installation to long term bills?
There is no single cost pattern for every home because tank and tankless water heaters differ in installation cost, monthly energy use, maintenance needs, and replacement timing. The better financial choice depends on how long the homeowner plans to stay in the home and how much hot water the family uses.
A cost comparison works best when broken into three parts.
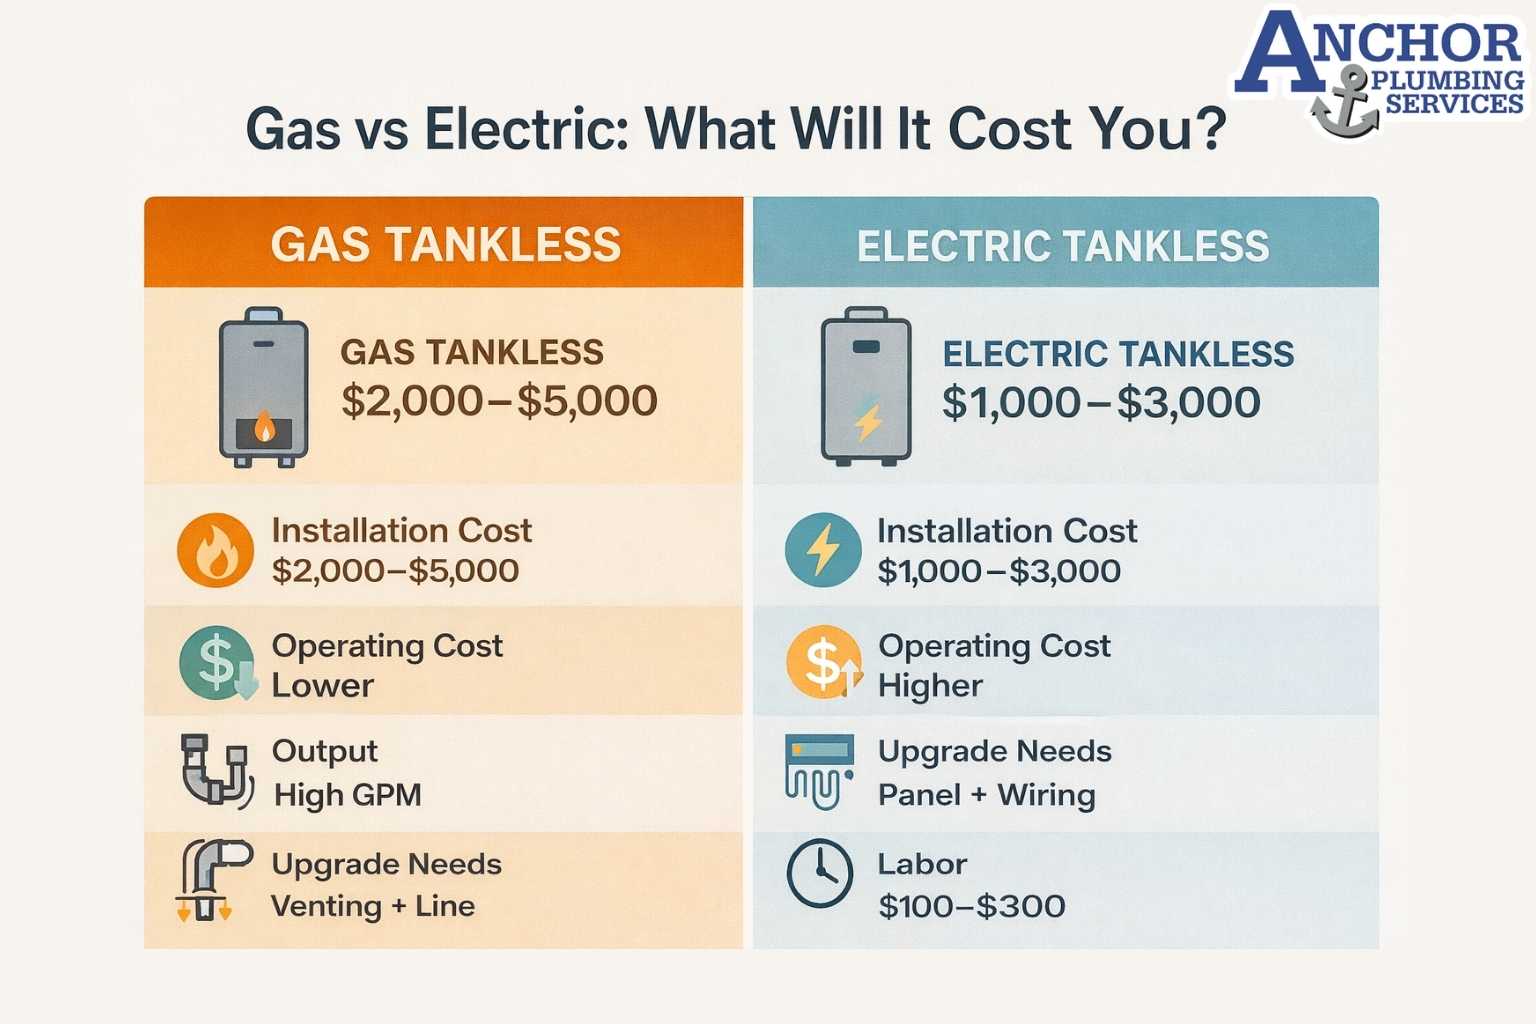
Upfront purchase and installation: A tank water heater usually costs less to buy and install. Installers often reuse existing venting, gas lines, or electric circuits. A tankless system usually costs more upfront because it may need upgraded venting, larger gas lines, or a stronger electrical panel. These upgrades change the total project cost more than the unit price alone.
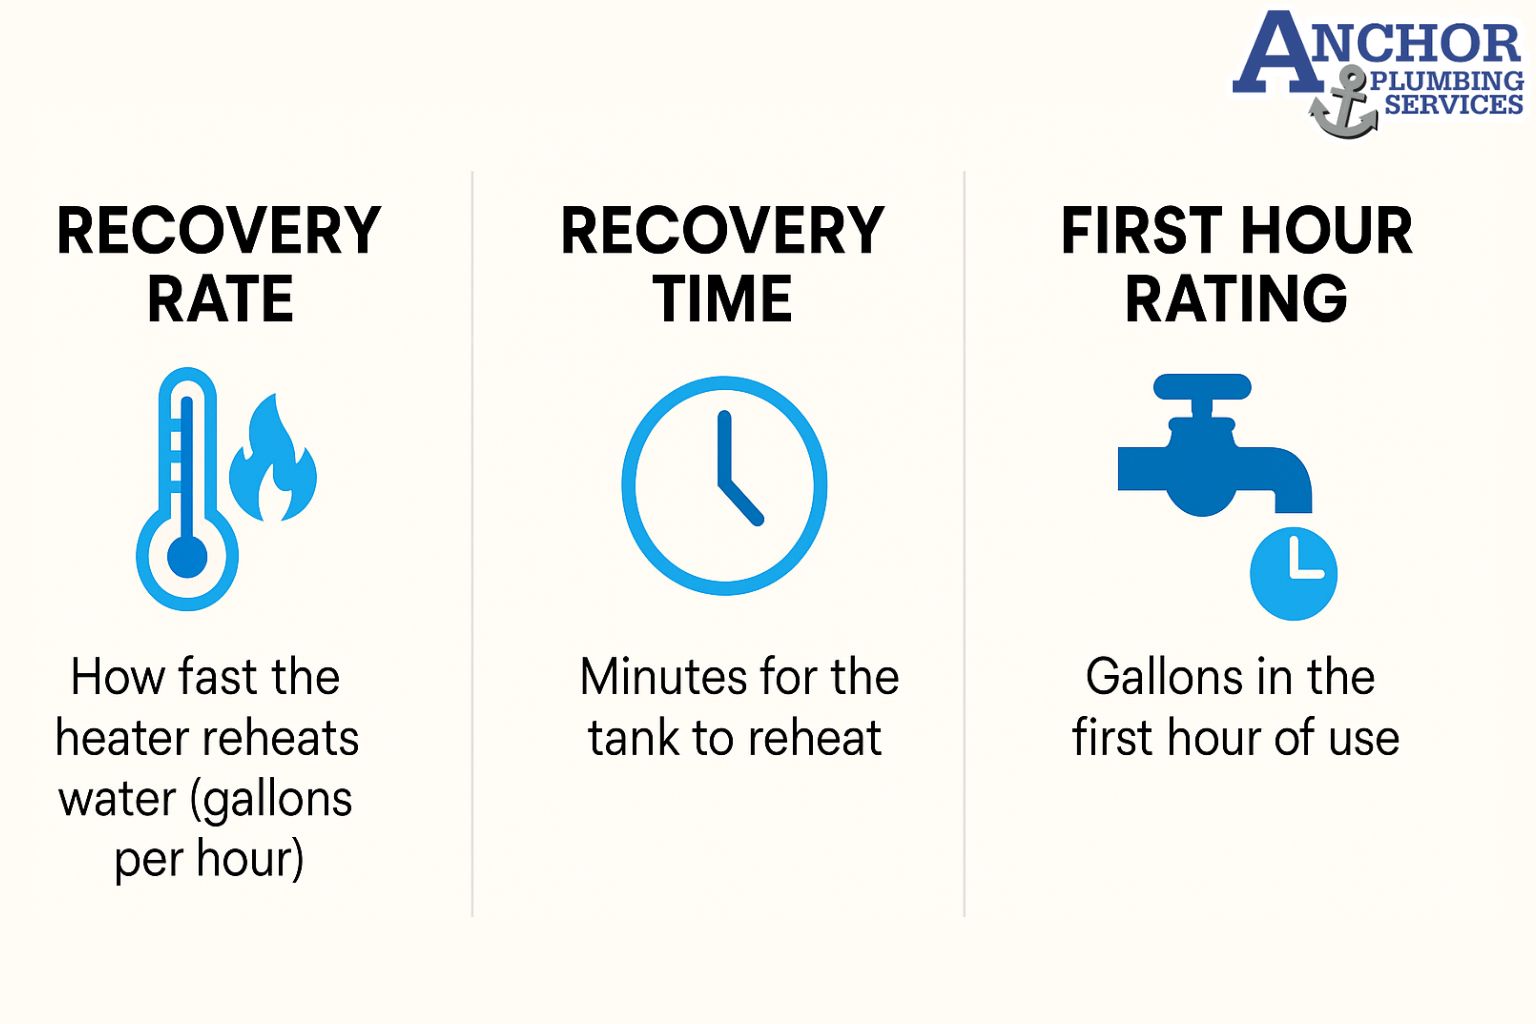
Monthly energy bills: A tank reheats stored water throughout the day. This standby loss increases total energy use. A tankless heater avoids this loss because it heats only when water flows. According to the U S Department of Energy, tankless systems can use less energy over a year because they eliminate standby heat loss. The exact savings depend on household usage, fuel rates, and water quality.
Ongoing maintenance and replacement: A tank has simpler maintenance and cheaper parts, but it usually reaches the end of life sooner. Many tanks need replacement after a shorter service span because they fail by leaking. A tankless heater can last longer, yet it often needs descaling and cleaning on a regular schedule in hard water regions. This adds maintenance tasks but can extend long term performance and delay replacement.
Overall, tanks tend to favor a low upfront budget with predictable replacement cycles. Tankless systems tend to favor longer horizons where energy savings, lower standby losses, and longer lifespan can offset higher initial cost. Each home balances these costs differently based on age of infrastructure, hot water demand, and available fuel type.
How much will my electric bill go up with a tankless water heater?
There is no fixed amount that applies to every home because the electric bill change depends on fuel type, usage pattern, efficiency, and whether the homeowner is switching from a gas tank to an electric tankless system.
An electric tankless heater draws a large amount of power at the moment hot water flows. This high instantaneous load can raise the monthly electric bill if the home shifts from gas to electric heating. Even with efficiency gains, a change in fuel type often moves more of the total heating cost onto the electric meter.
If the home already uses an electric tank, the change can differ. Electric tankless systems avoid standby losses, so the total monthly energy use depends on how often the family uses hot water. Less frequent use can reduce monthly kWh even when instantaneous power draw is high. Heavy daily usage can increase the electric bill because the unit heats water many times each day.
Gas tankless heaters affect the electric bill differently. They use electricity for controls and ignition, but they heat the water with gas. In those homes, the gas bill changes more than the electric bill. The overall impact depends on how efficiently the new unit operates and how much hot water the home uses.
Panel upgrades also influence cost. If an electric tankless system requires a stronger electrical panel, the installation cost rises, but the upgrade does not directly change the monthly bill. The monthly bill reflects usage, flow duration, and the rate charged per kWh.
In every scenario, the final bill varies with daily habits, fuel rates, and system sizing. A personalized estimate during a water heater installation provides the most accurate expectation for a specific home.
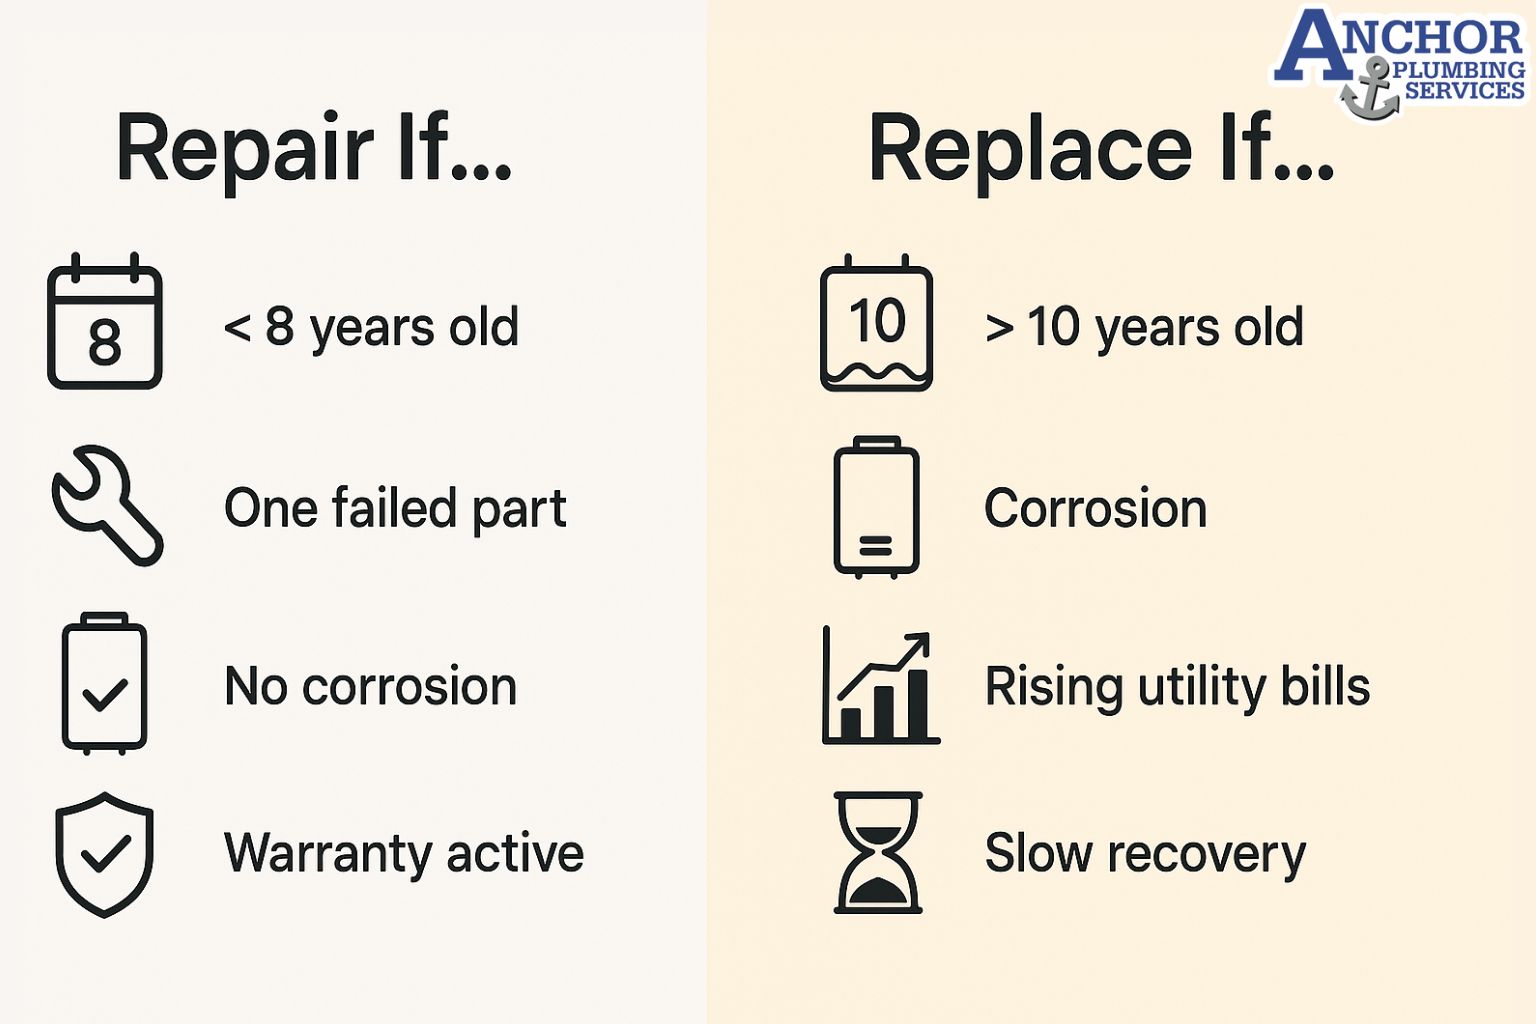
How long do tank and tankless water heaters last in hard water areas?
A tankless water heater generally lasts longer than a tank water heater, especially when both systems receive regular maintenance and protection from scale in hard water conditions.
A tank water heater often reaches a shorter service life because the metal tank corrodes over time. Hard water accelerates this process by leaving sediment on the bottom of the tank. The sediment traps heat, increases stress on the metal, and reduces the effectiveness of the anode rod. When corrosion advances, the tank eventually leaks. Leaks, reduced capacity, and slower recovery are common failure patterns.
A tankless water heater does not store water, but hard water can shorten its life by coating the heat exchanger with scale. The narrow passages inside the exchanger are sensitive to mineral buildup. Scale triggers error codes, reduces flow, and forces the unit to work harder to maintain temperature. If scale is not removed, the exchanger can overheat or fail.
Maintenance changes these outcomes. Annual flushing protects a tank by removing sediment and giving the anode rod a longer opportunity to control corrosion. Annual descaling protects a tankless unit by clearing scale from the heat exchanger and restoring stable flow. A water softener reduces hardness before water enters the heater, which further extends service life for both systems.
Typical lifespan patterns work as general ranges rather than guarantees. A tank often has a shorter range, while a tankless system often reaches a longer range when scale is controlled and errors are addressed early.
How does hard water change the decision between tank and tankless water heaters?
Hard water does not automatically rule out tankless water heaters, but it makes maintenance discipline and water treatment more important for either type of system.
Hard water increases mineral deposits inside both heaters. In a tank, sediment settles at the bottom and reduces efficiency. In a tankless system, scale forms on the heat exchanger and restricts flow. These problems happen for different reasons, but both require homeowners to follow more frequent maintenance intervals.
If a home has hard water, no water softener, and irregular maintenance habits, a tank often carries less risk. A tank can tolerate more sediment before failing and usually continues to supply hot water with fewer interruptions. The heater still loses efficiency, yet the failure pattern is predictable and easier to manage.
If the home has hard water with a water softener and consistent annual service, a tankless heater becomes more appealing. The softener reduces scale formation, and regular descaling keeps the exchanger clear. In these conditions, the tankless system benefits from better efficiency and the possibility of a longer service life.
Hard water shifts the choice from a simple technology comparison to a combined evaluation of heater type, water treatment, and homeowner habits. The best option balances hardness level, maintenance discipline, and long term goals for efficiency and replacement cycles.
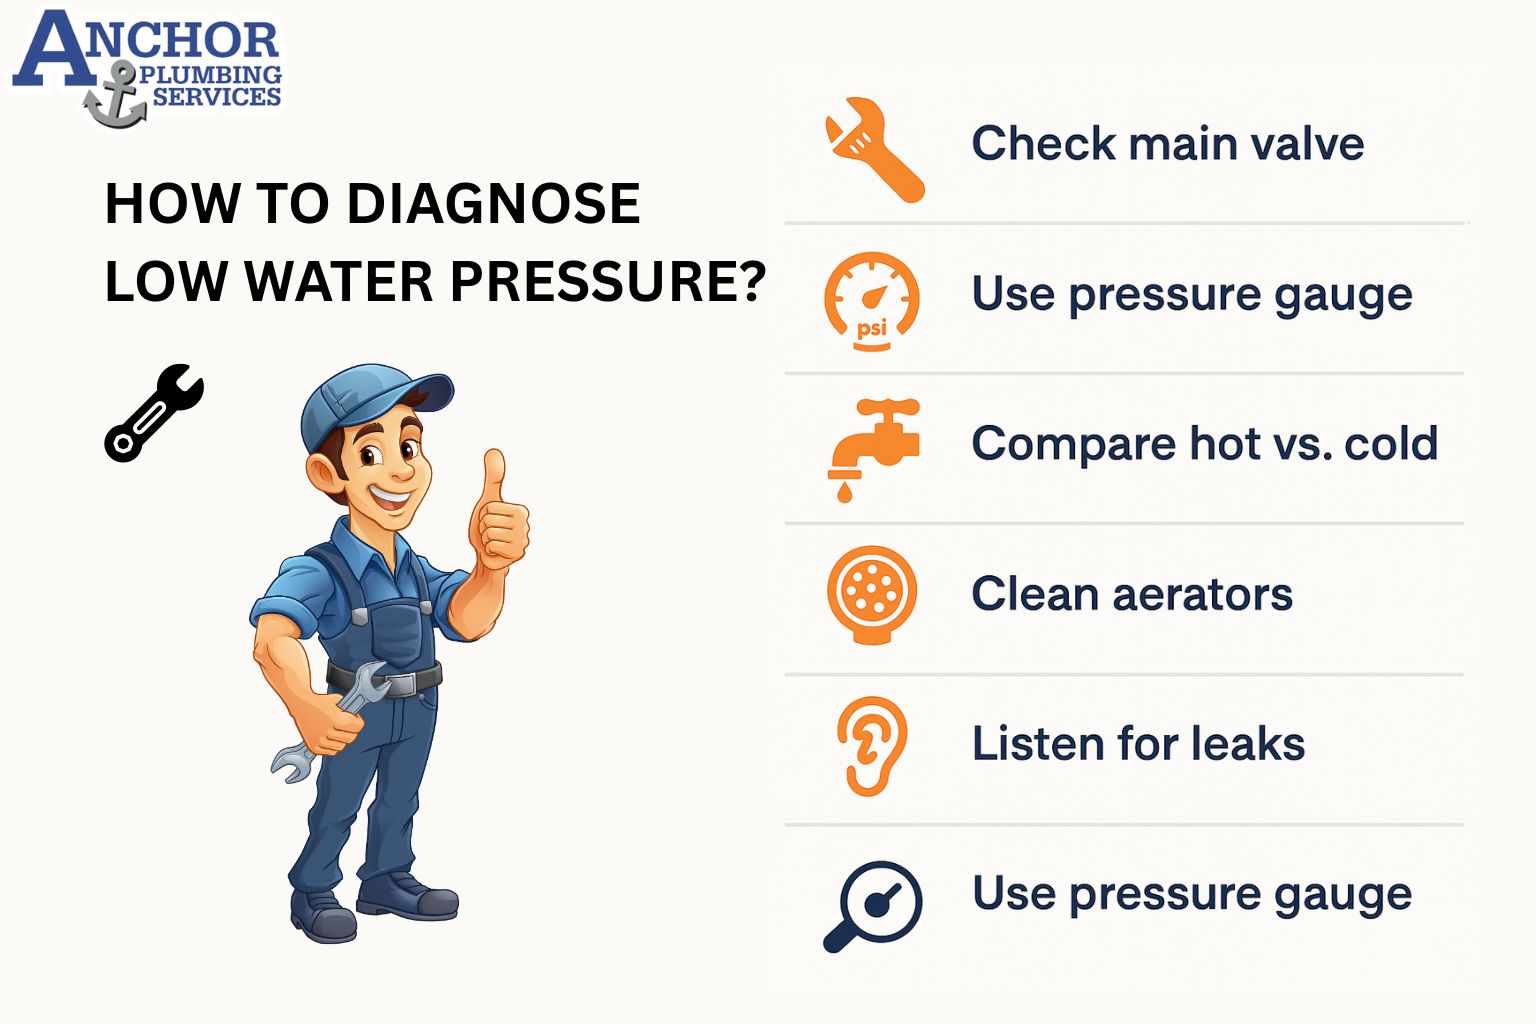
How do local plumbers help you choose the best water heater for your hard water home?
A local plumber can evaluate your home’s hard water conditions, infrastructure, and usage patterns to recommend the water heater type that fits your needs with the least risk and the best long term performance. They also give a quote so you see how much water heater installation costs in a home like yours before you approve any work.
A plumber begins by checking the existing gas or electric capacity. This step confirms whether the current gas line, venting path, or electrical panel can support a tank or a tankless system. The plumber then measures water hardness and determines whether a water softener or filtration system is already in place. This hardness level influences maintenance frequency and long term reliability for both heater types.
Household usage is another essential factor. The plumber reviews how many people live in the home, how many bathrooms and fixtures draw hot water, and whether the family uses hot water in short bursts or in long stretches throughout the day. This demand pattern helps the plumber size the heater correctly. Space also matters. The plumber checks the mechanical area, closet, garage, or exterior wall to see where the heater can fit and how the venting can be routed.
Anchor Plumbing Services follows a clear sequence when helping homeowners decide between tank and tankless water heaters. The process starts with an inspection. The plumber then diagnoses the home’s energy capacity, water hardness, fixture count, and available space. After the diagnosis, the plumber provides a written flat rate quote before any work begins. Installation follows the quote, and the final step is testing the system to confirm stable performance across all fixtures.