Water Softener Explained: Protecting Your Home from Hard Water Damage
- March 14, 2025
- Plumbing

Table of Content
- 1. What Is Hard Water?
- 2. What is a Water Softener?
- 3. How Does a Water Softener Work?
- 4. Key Components of a Water Softener System
- 5. Benefits of Using a Water Softener
- 6. Considerations Before Installing a Water Softener
- 7. Navigating Regulations and Environmental Impact
- 8. Upkeep, Repair, and Expert Assistance
Hard water can take a toll on your home—causing scale buildup, reducing appliance efficiency, and even damaging your plumbing. If you’ve noticed water spots on dishes, mineral buildup in pipes, or reduced water heater performance, it may be time to evaluate your water quality.
In this guide, we break down everything you need to know about water softeners—how they work, why they’re beneficial, and how to maintain water softeners. Whether you’re a homeowner, property manager, or renter, this resource will help you understand the science behind water softening and provide practical steps for maintenance and professional assistance.
By learning how water softeners function and the advantages they offer, you can make informed decisions to improve water quality, extend appliance lifespan, and avoid costly repairs. Whether you are installing a new system or optimizing an existing one, this guide covers everything you need to keep your home’s water soft and your plumbing protected.
What Is Hard Water?
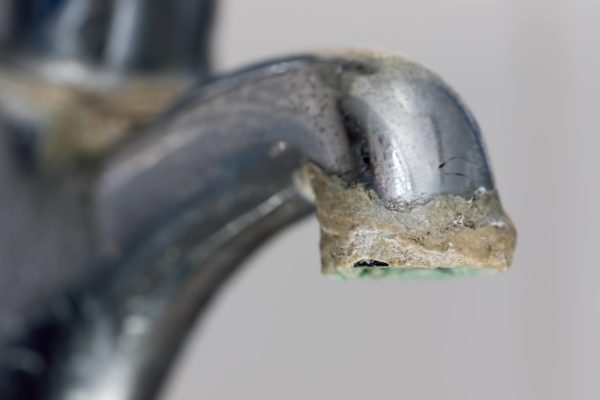
Hard water contains high levels of dissolved minerals, primarily calcium and magnesium, which it picks up as it flows through rock and soil. While these minerals aren’t harmful to health, they can cause serious issues in your home.
Over time, hard water minerals accumulate on surfaces, forming stubborn scale deposits. These buildups can clog pipes, reduce water flow, and diminish the performance of water heaters, dishwashers, and washing machines.
In addition, hard water interferes with the effectiveness of soaps and detergents, leaving behind a film on your dishes and laundry. Understanding what hard water is and how it affects your plumbing and appliances is the first step in determining whether you need a solution to mitigate these common issues.
What is a Water Softener?
A water softener is a specialized system engineered to tackle the challenges posed by hard water. Unlike typical water filtration systems, which remove impurities, a water softener specifically targets the minerals that cause hardness. Using a process known as ion exchange, the system replaces calcium and magnesium ions with sodium (or sometimes potassium) ions.
This transformation converts hard water into soft water, significantly reducing the formation of scale deposits in your pipes and on your appliances. The result is not only better-performing household systems but also soft water may feel smoother on the skin and could help soaps lather more easily.
A water softener can help reduce the effects of hard water, such as scale buildup and appliance wear, potentially extending the lifespan of plumbing and appliances.
How Does a Water Softener Work?
Water softeners operate on a straightforward yet effective principle called ion exchange. At the heart of every water softener is a resin tank filled with millions of tiny resin beads, which are pre-charged with sodium ions. When hard water enters the system, it flows through this resin bed. As the water passes over the resin beads, the positively charged calcium and magnesium ions are attracted to and cling to the beads.
Simultaneously, the sodium ions are released from the beads into the water, taking the place of the hard minerals. This process effectively reduces the hardness of the water, leaving it softer and less likely to cause scale buildup in your home.
However, the resin beads eventually become saturated with the hard minerals and must be regenerated to continue functioning effectively. During the regeneration cycle, the softener flushes the resin tank with a concentrated brine solution—a mix of salt and water. The high concentration of sodium in the brine displaces the accumulated calcium and magnesium ions from the resin beads, recharging them with sodium.
The displaced minerals, along with the excess brine, are then rinsed out of the system. This cyclical process ensures that your water softener consistently delivers soft water, protecting your appliances and plumbing from the adverse effects of hard water.
Last Chance to Save Your Appliances—Soft Water Won’t Wait Forever!
Every day without a water softener puts your pipes, appliances, and skin at risk. Anchor Plumbing Services installs premium, long-lasting systems that stop scale buildup, extend appliance lifespans, and protect your family’s comfort.
Act now to lock in your installation and say goodbye to stubborn stains, dry skin, and costly repairs. Your home deserves defense, not delays.

Flat Rate Pricing

Same-Day Service

Satisfaction Guarantee
Key Components of a Water Softener System
A typical water softener system comprises several critical components that work together seamlessly.
- Resin Tank: Houses millions of resin beads that perform the ion exchange by swapping calcium and magnesium ions for sodium ions. This process softens the water and reduces scale buildup.
- Brine Tank: Stores a salt-water solution used to regenerate the resin beads. The salt solution flushes out accumulated minerals and recharges the beads, ensuring continuous softening.
- Control Valve: Regulates the water flow through the system and automatically triggers the regeneration cycle when needed, maintaining optimal performance.
- Bypass Valve (Optional): Allows water to bypass the softening process during maintenance or repair, ensuring uninterrupted water supply.
Each of these parts plays a vital role in ensuring that the water softening process runs efficiently, maintaining consistent water quality and protecting your home’s plumbing infrastructure from the damaging buildup of hard water minerals.
Benefits of Using a Water Softener
Hard water doesn’t just leave unsightly stains—it silently damages your appliances, plumbing, and even your daily comfort. Understanding the benefits of a water softener helps homeowners see why this system is more than a luxury; it’s a practical solution to protect your home and enhance your quality of life. Let’s break down the key advantages.
- Extended Appliance Lifespan: Water softeners prevent scale buildup on water heaters, dishwashers, and washing machines. This protection reduces wear and tear and minimizes repair costs over time.
- Enhanced Cleaning Efficiency: Soft water improves the performance of soaps and detergents. As a result, dishes, laundry, and surfaces are cleaner, while skin and hair benefit from reduced dryness and irritation.
- Cost Savings: Using softened water may help reduce scale buildup, which could improve appliance efficiency and potentially lower maintenance costs over time. Reduced scale also means that appliances operate more efficiently, which can decrease overall utility bills.
- Improved Water Flow and Quality: By keeping pipes free of mineral deposits, water softeners ensure consistent water pressure and flow. This leads to better water quality throughout your home.
- Overall Home Protection: Soft water minimizes corrosion and blockages in your plumbing system, safeguarding your home’s infrastructure and reducing the likelihood of expensive future repairs.
From reducing energy bills to preserving your plumbing, a water softener offers tangible benefits that make it a worthwhile investment. By addressing hard water at its source, you’re not just improving today’s convenience—you’re preventing tomorrow’s costly repairs.
While the perks of water softeners are clear, it’s important to weigh them against potential drawbacks. In the next section, we’ll explore the considerations every homeowner should know before installing a system.
Considerations Before Installing a Water Softener
No system is perfect, and water softeners are no exception. Before making a decision, it’s crucial to understand the trade-offs—from environmental impacts to maintenance demands. Here’s a balanced look at the challenges you might face.
- Increased Sodium Levels: The ion exchange process adds sodium to the water, which might be a concern for those on a low-sodium diet. Consider alternatives like potassium-based systems if needed.
- Environmental Impact: The regeneration cycle produces a saline discharge that can affect local water quality if not properly managed, posing potential environmental challenges.
- Upfront and Ongoing Costs: Initial installation and periodic maintenance require a financial investment. While long-term savings are possible, the early costs should be considered.
- Maintenance Requirements: Regular tasks such as salt refills and periodic cleaning are necessary to keep the system running efficiently. Neglecting maintenance may reduce performance and increase repair needs.
Awareness of these considerations ensures you can make an informed choice that aligns with your household’s needs and values. With proper planning, many of these challenges can be mitigated or even avoided.
Beyond personal considerations, local regulations and environmental responsibilities also play a role. Up next, we’ll discuss how to navigate rules and eco-friendly practices for water softening.
Navigating Regulations and Environmental Impact
Installing a water softener isn’t just about your home—it’s about complying with local guidelines and minimizing your environmental footprint. In regions like Texas, where water conservation is critical, understanding these factors ensures your system works harmoniously with community and ecological priorities.
- Local Regulatory Requirements: Some municipalities restrict or ban conventional water softeners due to concerns about saline discharge. Always verify local codes before installation.
- Environmental Considerations: The salt discharged during regeneration can raise local water salinity and potentially harm aquatic ecosystems. This environmental impact should be weighed against the benefits of soft water.
- Eco-Friendly Alternatives: Some water softener models use alternative regeneration methods designed to reduce salt usage and wastewater output.
- Responsible Compliance: Choosing a system that meets both your water treatment needs and local environmental regulations ensures that you contribute to a healthier ecosystem while protecting your home.
By staying informed about regulations and opting for sustainable solutions, you can enjoy the benefits of soft water while contributing to broader environmental goals. Responsible usage today protects both your home and your community’s resources.
Now that you’ve weighed the pros, cons, and regulations, it’s time to learn how to maintain your system for lasting performance. In the following section, we’ll cover practical upkeep tips and when to seek expert help.
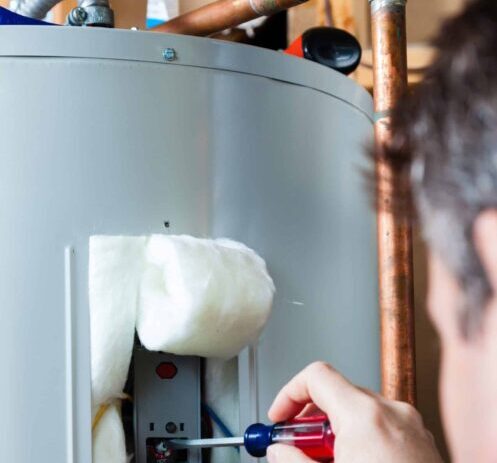
Upkeep, Repair, and Expert Assistance
Keeping your water softener in peak condition ensures a continuous supply of soft water and extends the lifespan of the system. Proper maintenance helps prevent breakdowns, reduces repair costs, and keeps your plumbing free from mineral buildup.
DIY Maintenance Tips
Regular maintenance can prevent many common water softener issues. Here’s what you can do:
- Check Salt Levels: Ensure the brine tank has enough salt, and refill it when needed. Using high-purity salt minimizes residue buildup.
- Clean the Brine Tank: Every six months, flush out sediment and sludge to keep the system running efficiently.
- Inspect for Salt Bridges: Hardened salt formations can block proper regeneration. Break them up manually to restore the function.
- Monitor Water Softening Performance: If you notice changes in water quality, it could indicate an issue with the resin beads or regeneration cycle.
- Replace Filters (If Applicable): Some systems include filters that trap sediments—these should be replaced regularly.
These steps can prevent minor issues from escalating, but some problems demand professional attention.
When to Call Professional Experts
While routine maintenance can be handled at home, some issues require expert intervention. Call a professional if you experience:
- Loss of Softening Effectiveness: If your water remains hard despite proper maintenance, the resin bed might need a recharge or replacement.
- Leaks or System Malfunctions: A leaking water softener or irregular cycling may indicate a valve or control issue.
- Unusual Noises or Error Codes: Grinding sounds, beeping alarms, or system error messages often point to mechanical problems.
- Annual System Inspection: A yearly professional check-up ensures your unit functions optimally and prolongs its lifespan.
Attempting complex repairs without training can worsen issues or void warranties. If you need assistance with installation or maintenance, contact Anchor Plumbing Services’ water softener installation experts to diagnose and resolve problems efficiently. Our Texas-based team offers everything from emergency repairs to annual tune-ups, ensuring your system protects your home for years to come.
By combining DIY maintenance with professional servicing when needed, homeowners can keep their water softener operating efficiently, ensuring clean and scale-free water for years to come.
Conclusion
In conclusion, water softeners offer a practical solution to combat the damaging effects of hard water, protecting your home’s plumbing and appliances while enhancing water quality. By understanding how these systems work, recognizing their benefits, and weighing potential drawbacks, you can make an informed decision about whether a water softener is right for you.
Regular maintenance and professional support ensure that your investment continues to pay off for years to come. For expert help or a replacement upgrade, consider our Water Softener Replacement service and enjoy the peace of mind that comes with truly soft water.
Why Settle for ‘Good Enough’ When Plumber’s a Call Away?
Premium drain and plumbing service that’s faster, smarter, and built to last.
- 24/7 Emergency Service
- Financing options
- 100% satisfaction guarantee
- Transparent, upfront pricing
- Licensed Technicians
- All Posts
- Plumbing
- Septic System

Sewer line damage is a growing issue in residential plumbing systems. It occurs when underground pipes that carry wastewater from...
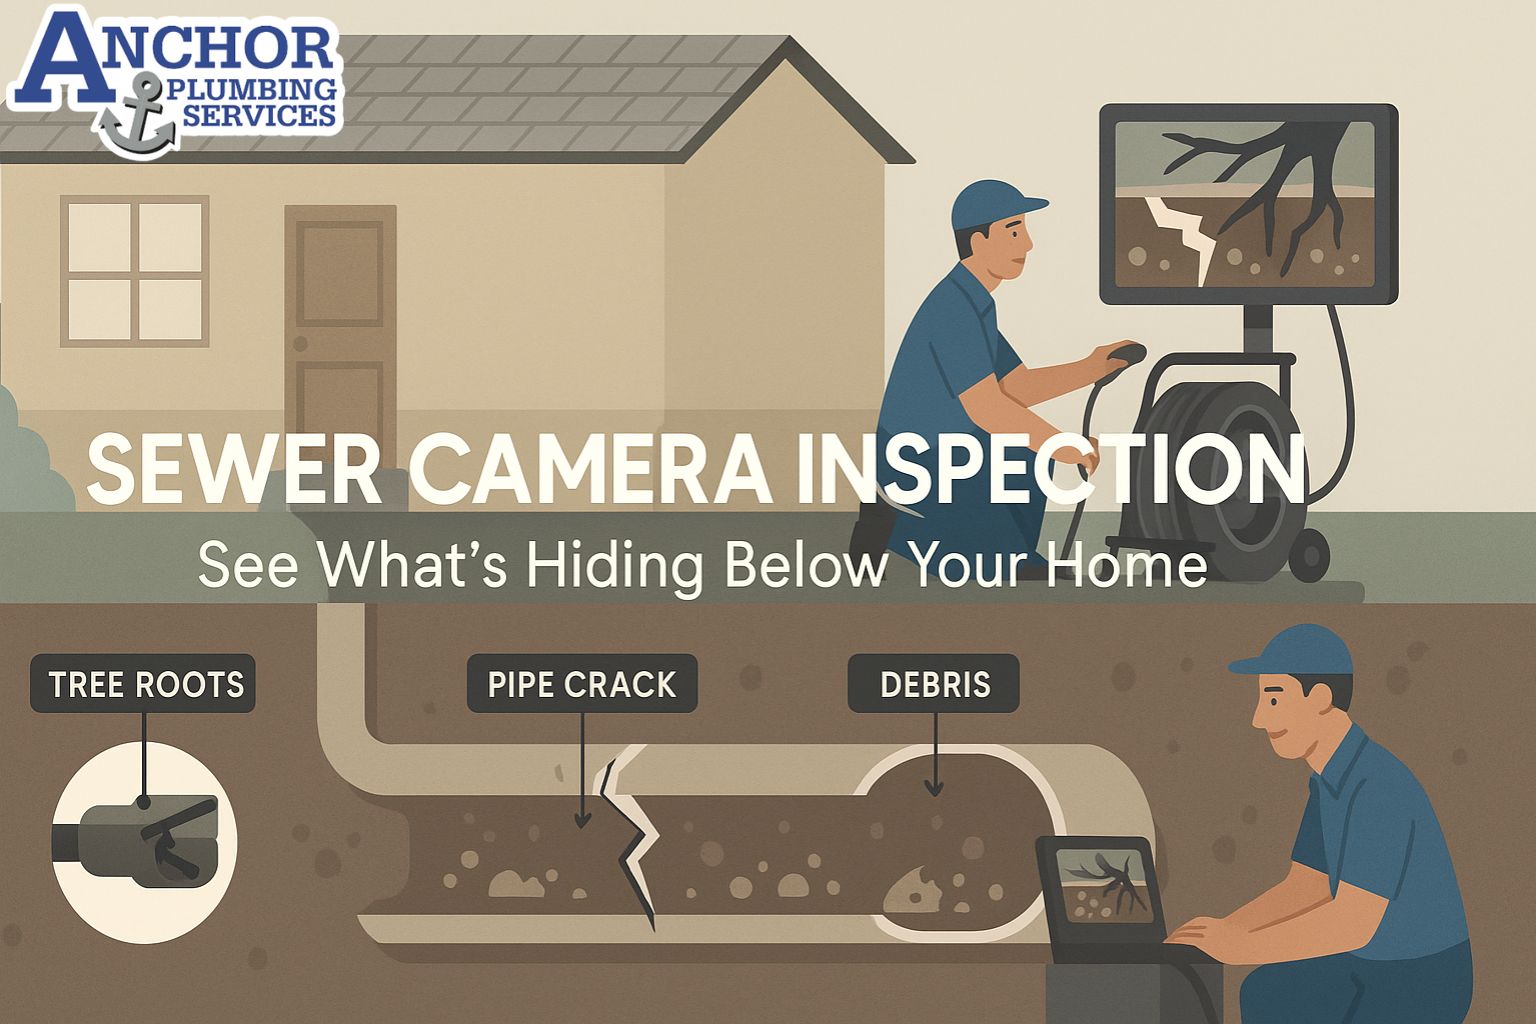
Sewer camera inspections are non-invasive diagnostic procedures used to visually assess the condition of underground residential sewer lines. This process...
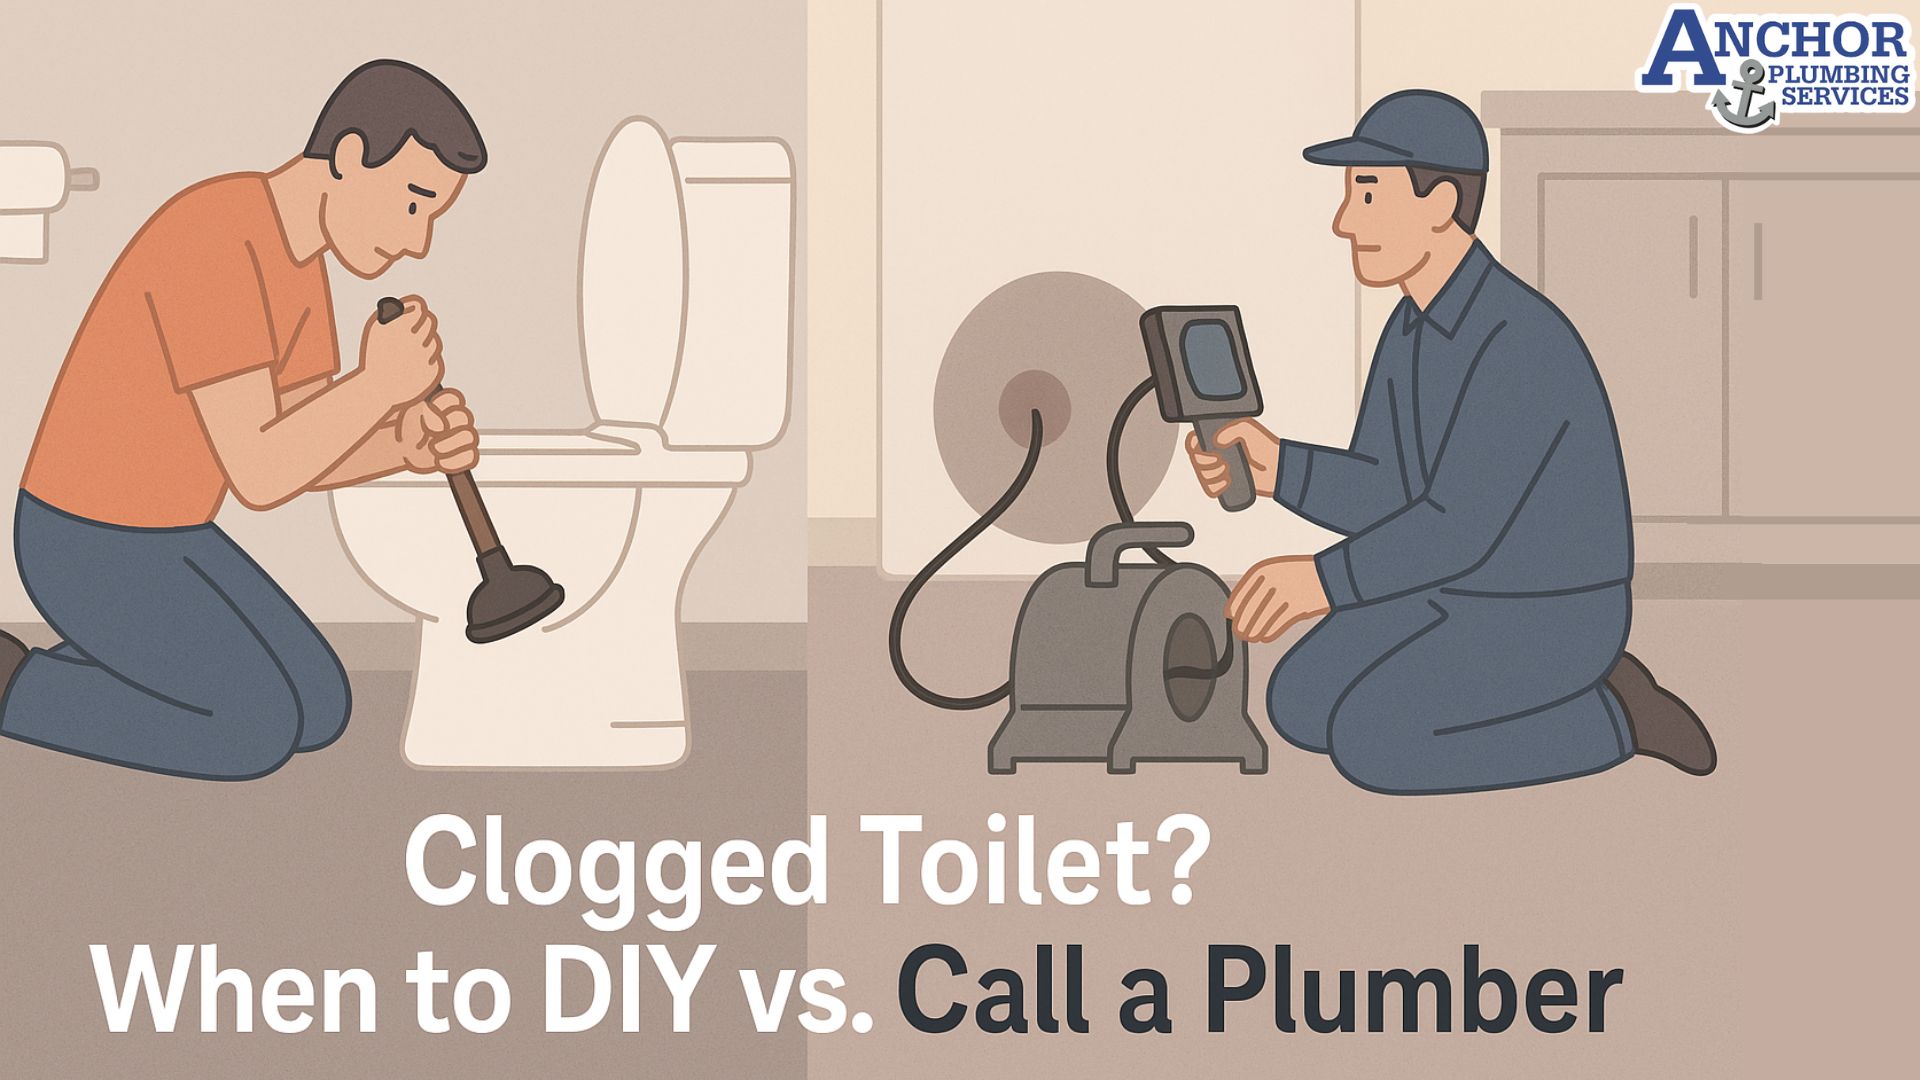
A toilet clog clears when water and waste move past the toilet trap without resistance. The fastest way to unclog...
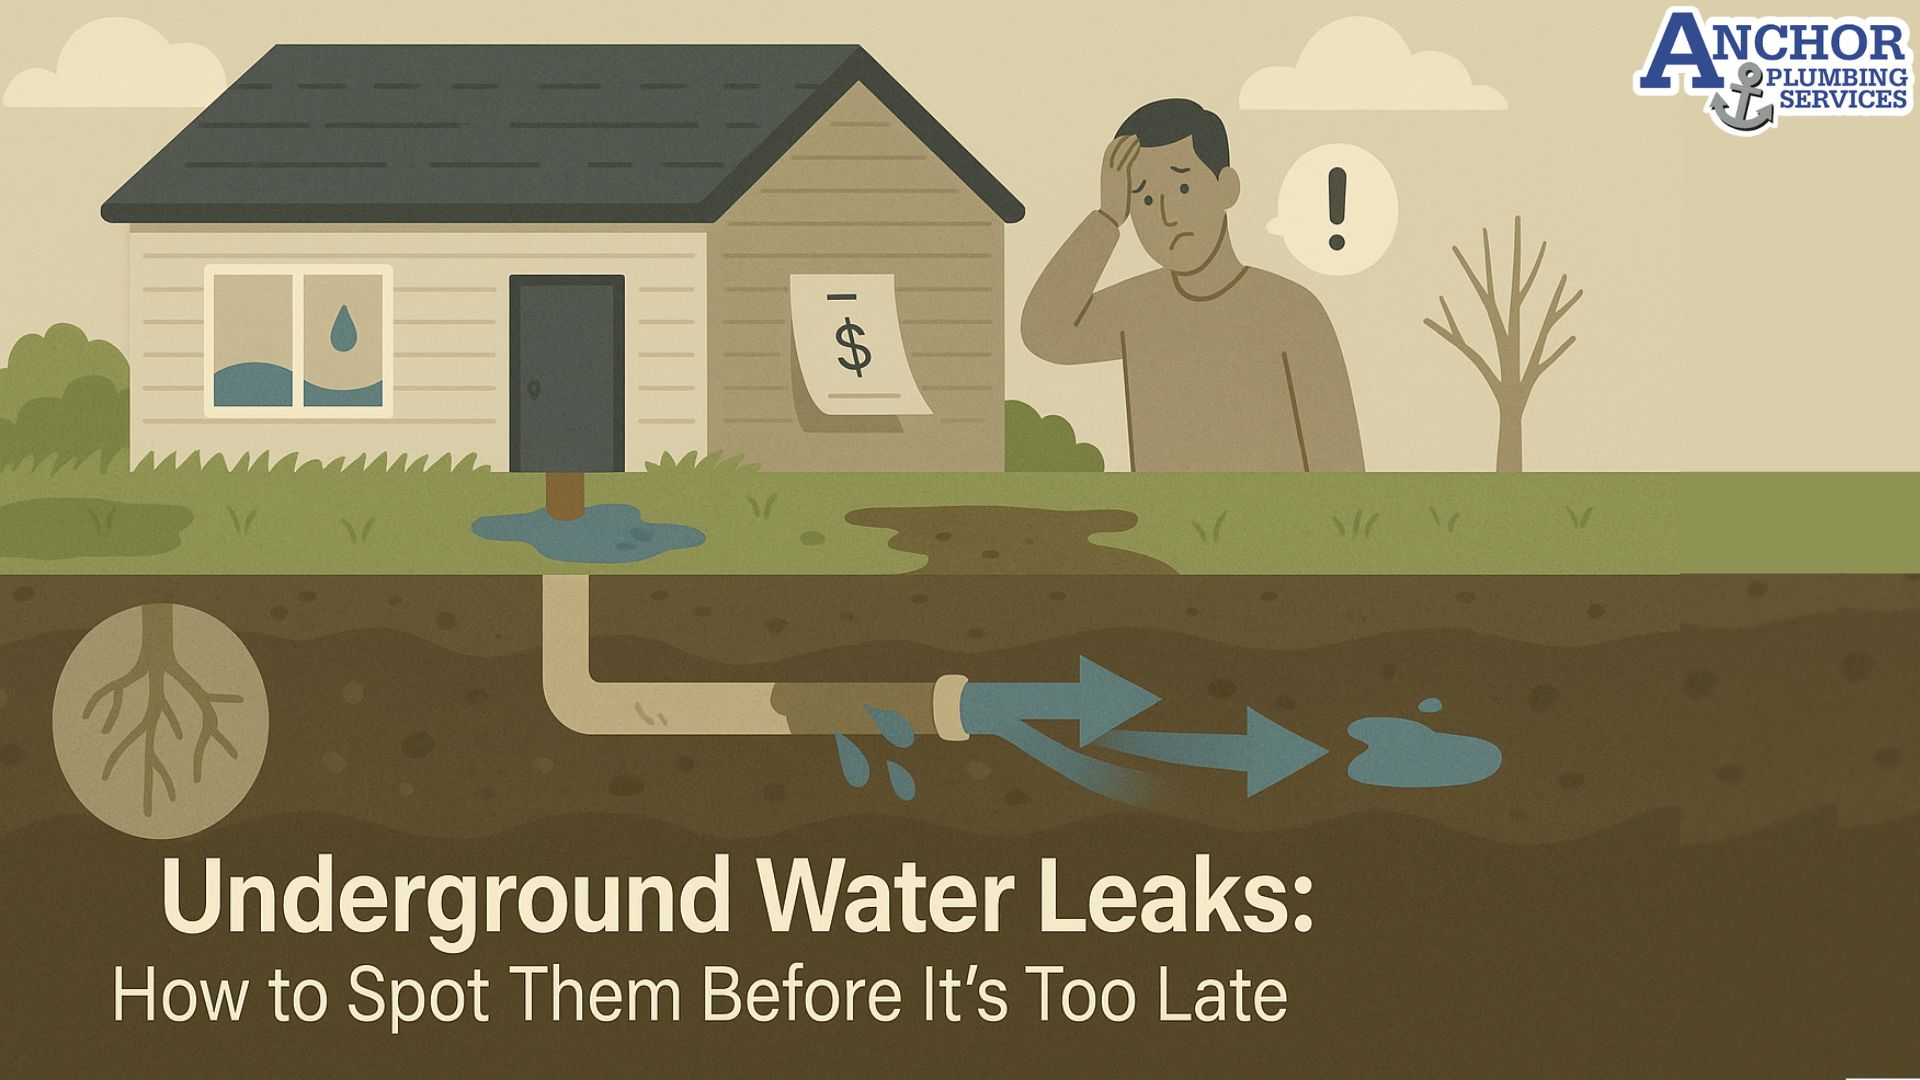
Find underground water leaks by checking for unexplained high-water bills, monitor water meter when no water is in use, damp...

Sewage backups are a growing concern in many U.S. homes, especially in areas with aging infrastructure or frequent storms. These...

Water softener system costs in 2025 vary widely depending on system type, installation complexity, and ongoing maintenance needs. Whether you’re...
If your water bill has suddenly increased without any change in usage, you may have a slab leak. Slab leaks...
If you’re dealing with stubborn clogs, slow drains, or repeat backups, basic tools like plungers or drain snakes often can’t...

Water Softener Maintenance: Tasks, Frequency, Costs, and Professional Service March 18, 2025 Plumbing Table of Content 1. Why Water Softener...